Tactical overlay
Contents
This page is still being created
Activating the Tactical Overlay
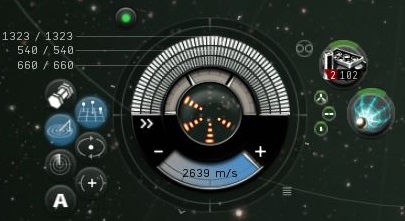
Most EVE pilots have futzed around with the buttons on the HUD by now and have discovered the Tactical Overlay. This is a page for those of you who haven't, or aren't quite sure what it's good for. Activating the tactical overlay is as easy as clicking the button that's highlighted blue in the following screenshot (or using Ctrl-D, which is the default key binding to toggle):
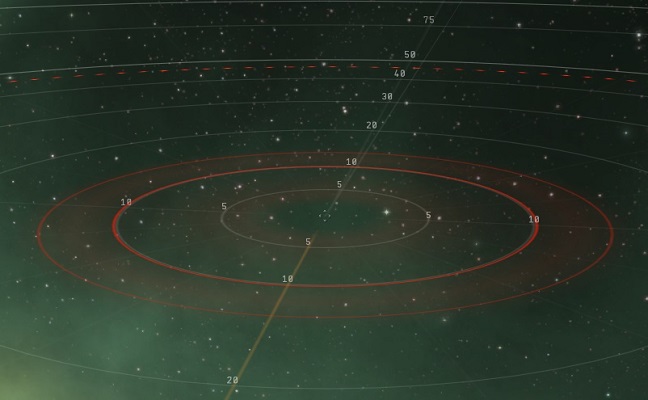
If your camera is zoomed in fairly close to your ship, the first thing you'll see is some lines, light shading, and numbers around your ship, depending on its orientation.
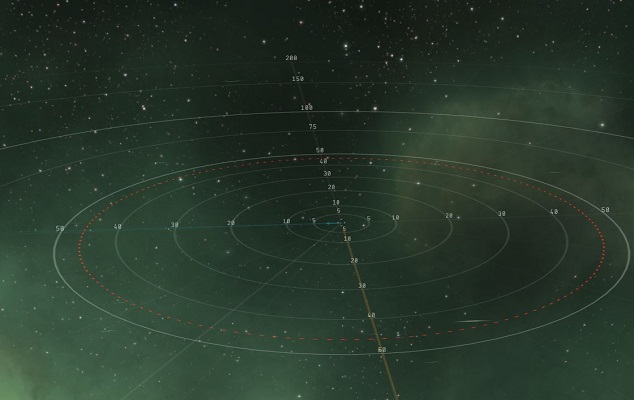
If you zoom your camera out, the tactical overlay will come more clearly into view, and look something like this:
Targeting Range
At the very center of the concentric rings is your ship, and the rings mark various ranges in kilometers. The sphere you see is the targeting range of your ship with any rigs and active modules. The image above is the natural targeting range of a Condor (28.75km without any active modules or rigs). If you were to activate a Sensor Booster I (with 25% range bonus) you would see the sphere expand (to 33.12km) and look like this (and, no it wouldn't cause solar waves in space):
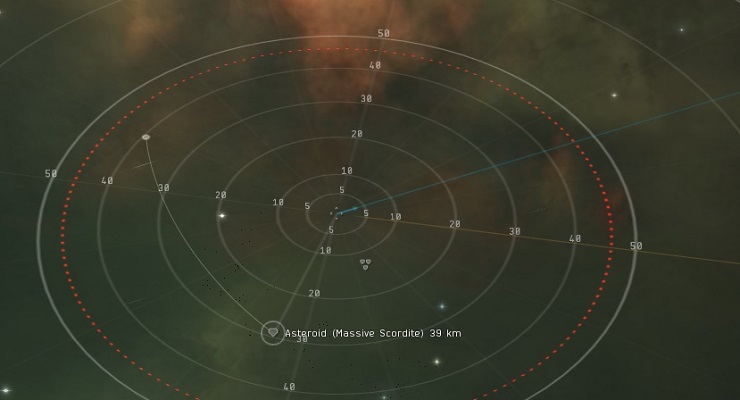
Another feature of the overlay is that when you select something in the overview that is out of range, you will see a line to it in the overview. If this were a hostile targeted (haven't checked if it's any ship), there would be a big X wrapped on the surface of the targeting sphere where the ship would enter your targeting range at the current trajectory. (As CCP doesn't consider cans to be terribly aggressive, there is no X. It's also possible the targeted object would have to be closing on you. If anyone knows the answer to this, please update.)
If you have multiple sets of targets approaching your ship at different angles, you can swing the camera around, selecting different ships to see how far they are from the entry point. This can give you a tactical sense of who's likely to get to you first as they close on your position and allow you to plan your battle.
One thing that is not reflected in the targeting sphere is any bonuses you have due to skills or implants.
Optimal Range and Falloff
Now, on to the original point of this page. When you have the tactical overlay up, you can mouse over any weapon that have an optimal range and falloff and see what this really means in space:
Here we see two spheres (the targeting sphere remains but is not in this picture). The smaller sphere is the optimal range of the weapon in question. The larger sphere is the optimal + falloff range. There is a pretty complicated explanation of how this works out mathematically **HERE**, but the short story is that your chances to hit and damage done fall off to 50% of normal (or more) when the target is that far away.
Ranged Modules w/o Falloff
Though the same info is available for objects in your overview, this view can be useful when doing missions, ratting or whatnot because it will show you the xyz location in space. For example, two ships 50km from you may be together, 100km apart on either side of you, or any orientation that would land them on the surface of a 50km radius sphere.
Another use for this view is planning your path through wrecks as you salvage in your shiny, new Noctis (or the ship you're in while you're waiting for your shiny, new Noctis.) Typically, with a good fit, and assuming you didn't have to kite the mobs for 20 minutes, you'll be see a path to the furthest wreck out of your range and drag in anything
