First Steps
Entering the Character Creator
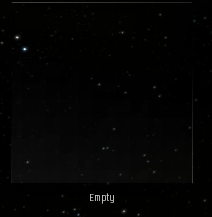
If you already have an existing character on this account, then you can create a new character (up to three per account in total) by selecting an empty slot from the login window. If this is the first character on this account, you will proceed automatically to the next step.
Selecting A Race
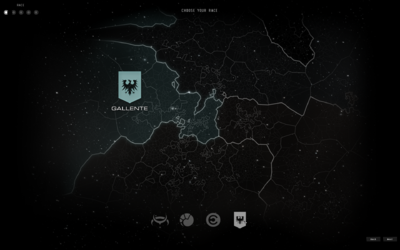
The next screen allows you to choose your character's race.
The four options are Amarr, Minmatar, Caldari and Gallente. When you click on one of the four icons at the bottom, a map area highlights, indicating the chosen race. Confirm your choice by pressing "Next" at the bottom right hand corner.

This will bring you to a screen that provides some more information about your choice. Press next to move to the next step.
Selecting Bloodline and Gender

On this screen you can select between the three Bloodlines for your chosen race, and the gender of your character. Neither of these decisions has any direct in-game effect, but may influence your roleplay choices (should you decide to roleplay) and do influence the character modelling options later.
Select a bloodline by clicking on the appropriate symbol, then select gender by clicking on the "female" or "male" symbols. When you are happy with your choice, press next.
Character Modelling
Modelling Screen

This is the first screen of the character modeller. To the left are some general options. To the right is the modelling option palette that allows you to choose hairstyles, makeup, facial hair, etc. At the bottom is a history selector, allowing you to undo and redo choices and modelling. A naked(ish), default, model is displayed in the centre.
General Controls
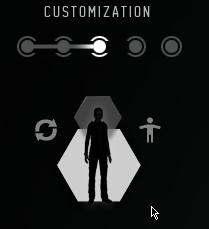
In the general controls, there are three clickable options. Clicking on the hexagon surrounding the head will cause the camera to zoom to the head of your model. Clicking on the hexagon around the body will cause it to zoom out, to show the whole model. Clicking on the spread-eagle icon will toggle whether clothes are visible (on for default). It is not possible to toggle whether the character's underwear is visible - it always is. The two arrows in a circle will randomise all the design parameters for your character.
Modelling Options
You can use the controls on the right-hand side of the screen to modify the basic design of your character. You can also randomise specific aspects of your character (e.g. only their hair) by clicking the appropriate button with two arrows in a circle.
Shape

There are two slider-like controls for shape - muscularity and weight. Roughly, these correspond to the muscle definition (a full bar = well-defined, an empty bar = slender) of the character and the weight (full = fatter, empty = thinner). There is often not a vast change when selecting these.
Complexion
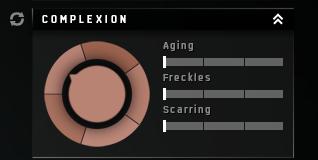
Three bars that appear to be sliders, but have only four selectable positions, control Aging, Freckles and Scarring. Aging adds wrinkles, freckles adds freckles, scarring adds acne-like scars. There's also a wheel that allows you to select base skin colour - the available colours are chosen by race/bloodline combination.
Eyes

The eyes selector allows one to pick a general eye style - usually limited to pupil dilation and iris shading. When you click on this box, a colour selector appears, allowing you to pick iris colour. There is also a blind option - solid white eyes. This option may be limited to appropriate race/bloodline combinations.
Hair
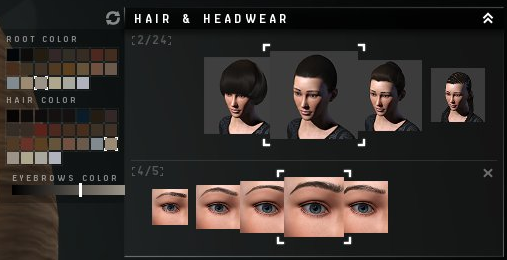
Female characters have two hair choices, male characters three. The first choice is hairstyle, ranging from bald to dreadlocks. Click and drag to browse options, click to select and render one on the main model. When you click into the "hair" area, a colour selector appears, allowing you to pick a primary and secondary colour. These colour choices are implemented differently for different hairstyles, so it's worth experimenting.
The second selector is eyebrow style - exact arching is controllable through sculpting, so stick to selecting on thickness and length.

Male characters also get a "facial hair" selector, allowing them to choose between a range of beards and moustaches.
Makeup
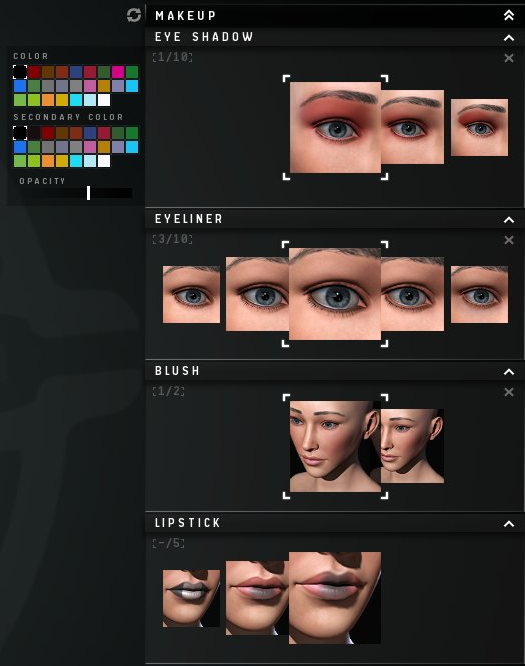
Female characters get a variety of selectors and colour and style choices. You can also de-select an option by clicking the X at the top right of each section.
- Eyeshadow: Two colours (though for some styles only one is applied) and an opacity control (which controls the intensity of the colouring).
- Eyeliner: Colour and a variety of styles, plus an opacity slider.
- Blush: Colour, opacity, style (at present the two styles are "too much blusher" and "none").
- Lipstick: Colour, glossiness, opacity and a variety of styles (top lip only, half of bottom lip, etc).
Sculpting
Sculpting the model allows one to change the look, proportions and features of the character. It is done via clicking on the body or face of the model and dragging in a variety of directions. The effect of dragging may not always be intuitive, so it's worth clicking around and experimenting. Keep in mind that the effect of clicking and dragging is dependent on the direction of the camera - viewing a body part from the side and sculpting may allow different effects than those available when viewed from the front.
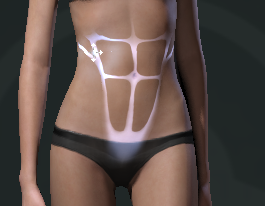
When the mouse hovers over a sculptable area, a mesh shows in white. Clicking and dragging will sculpt this area. Here, we can narrow or widen the waist of the character.
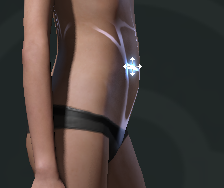
This is the same mesh, same body area, from the side. Here, clicking and dragging will give the character a paunch, or take it away.

Similarly, sculpting works on the face.

After sculpting and selecting options the character looks quite different from that first seen.
Useful tips:
- Ears can be made smaller or larger by viewing from the side and clicking and dragging left-right. Other options make them flap in and out or move up and down.
- There are many more sculptable areas on the face than elsewhere.
Clothes
There are a variety of garments that the character can wear. At time of writing, these are tops, bottoms, outer layers, boots and a variety of sunglasses. The exact garments and categories are dependent on race/bloodline/gender.
Top Selector

As for the modelling options, there are a number of different top garments that can be chosen. The currently selected one is viewable on the model. The number and selector in the bottom left hand corner is the "Tuck Option" and becomes visible only after a bottom option has been chose.
Tuck Option
The tuck option selects how the garment in question is arranged over adjacent garments - for instance, whether the top is tucked into the bottom or not.

Outer Garments

Outer clothing (coats, jackets etc) renders as one would expect.
Body modifications

Body modifications can be applied using the right-hand menu. They include:
- Piercings (on various parts of the face)
- Facial tattoos
- Facial scars
There is a sub-menu for "Augmentations", but it's empty by default. The New Eden Store sells additional body modifications and clothes which you can apply to your character at a later date.
Take your time with your sculpting and clothing choices. You can change clothing and body modifications at any time, but resculping your character costs PLEX. Once you're happy with the way your character looks, it's time to move on to taking the portrait (it is possible to come back to the modelling and sculpting mode from portrait mode).
Portrait Mode
General

In portrait mode, we have three areas - the portraits to the left, the model in the middle, and selectors to the right. There are three selectors.
- Background: There are around 80 backgrounds to choose from, and these are race-dependent.
- Pose: These provide base poses for the character, though it is possible to move the character around a little.
- Lighting: Different lighting colours and directions. There is also an "intensity slider" for making it brighter or darker.
Posing And Camera
General Orientation
- Move the head by right-clicking and dragging.
- Left-clicking and dragging away from the body of the model rotates (left-right) or tilts (up-down) the whole model.
- Left-clicking and dragging on the body of the model causes them to move their shoulders without changing their head position.
Head position and Expression
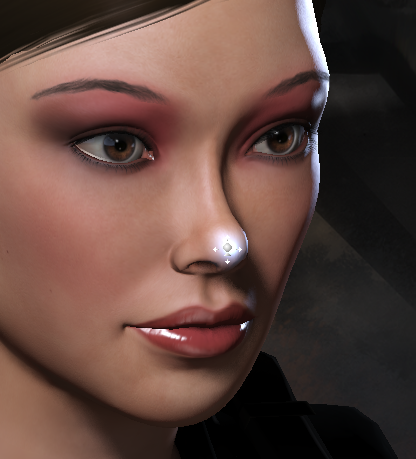
Click on a part of the head and get a white dot to allow you to turn the head or tilt it up or down. The same functionality works for the eyes, allowing you to set the character's gaze.
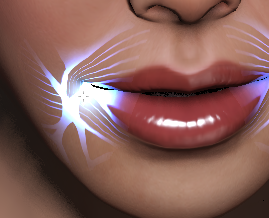
You can pose your character's face by left-clicking and dragging on some features (e.g. the eyes and the mouth), causing them to frown, smile or squint.
Taking a Portrait
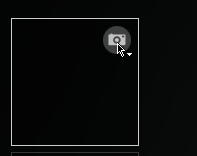
There are four available portrait spaces, though only one will actually be used. The four are there to enable you to have additional attempts without losing acceptable ones.
Take a portrait by clicking on the camera icon in one of the four available slots. You can re-take a photo into a used or unused slot without limitation. Keep in mind that your character will occasionally blink, so time your photos to get the desired effect.
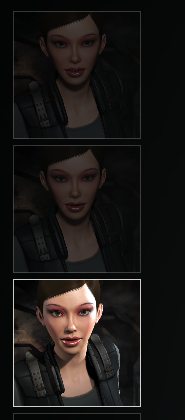
When you have a portrait you are happy with, make sure it is selected and highlighted, and click "Next".
Final
External links
