More actions
m removed WIP template |
|||
| (42 intermediate revisions by 10 users not shown) | |||
| Line 1: | Line 1: | ||
This guide is intended to introduce beginners to the visual cues EVE Online has for the various modules, so that you can recognise what's being done to your ship in combat (and hopefully, how to counter it). Each visual effect has an animated GIF illustrating what it looks like. <br> | |||
However in case the animations do not load properly each effect also has a link to a static picture as well. (static images coming soon) | |||
'''WARNING: picture heavy!''' | '''WARNING: picture heavy!''' | ||
== Local Repair Modules == | == Local Repair Modules == | ||
| Line 26: | Line 24: | ||
[[Image:visual2017_hull_repairer.gif]] | [[Image:visual2017_hull_repairer.gif]] | ||
You won't often see this in space, since hull tanking is daft. Whilst similar to the armour repair animation. It will be visible only on damaged sections of the ships model. | You won't often see this in space, since active hull tanking is daft. Whilst similar to the armour repair animation. It will be visible only on damaged sections of the ships model. | ||
=== Shield Booster === | === Shield Booster === | ||
| Line 55: | Line 53: | ||
Colour of shield hardening depends on ships faction of origin, not the module or the resistance type itself. | Colour of shield hardening depends on ships faction of origin, not the module or the resistance type itself. | ||
== Assault Damage Control == | |||
[[Image:visual2023_assault_damage_control.gif]] | |||
Visual effect is similar to warp stabilization effect. | |||
== Remote Repair Modules == | == Remote Repair Modules == | ||
| Line 89: | Line 93: | ||
=== Energy Destabilizer === | === Energy Destabilizer === | ||
An energy destabilizer - also known as a neutralizer or neut - removes some energy of the target ship's capacitor. Thus this is a hostile module you would activate on enemy ships to shut down their active modules. | An energy destabilizer - also known as a neutralizer or "neut" - removes some energy of the target ship's capacitor. Thus this is a hostile module you would activate on enemy ships to shut down their active modules. | ||
[[Image:visual2017_cap_neutralizer.gif]] | [[Image:visual2017_cap_neutralizer.gif]] | ||
| Line 97: | Line 101: | ||
=== Energy Vampire === | === Energy Vampire === | ||
Also known as a nosferatu or nos - the energy vampire takes some of the enemy's capacitor energy and adds it to your own. This can be useful for both annoying the enemy and helping to keep your own active modules running. | Also known as a nosferatu or "nos" - the energy vampire takes some of the enemy's capacitor energy and adds it to your own. This can be useful for both annoying the enemy and helping to keep your own active modules running. | ||
[[Image:visual2017_cap_nosfaratu.gif]] | [[Image:visual2017_cap_nosfaratu.gif]] | ||
| Line 103: | Line 107: | ||
There is a red beam pointing towards the target with a shifting and spiraling red cyclone. | There is a red beam pointing towards the target with a shifting and spiraling red cyclone. | ||
== Tackle Modules == | |||
=== Stasis Webifier === | |||
[[Image:visual2017_stasis_webifier.gif]] | |||
The webifier doesn't have a ship-to-ship effect, just a kind of circular ripple effect around the target. | |||
== Warp Disruptor | === Warp Disruptor and Warp Scrambler === | ||
[[Image:visual2017_warp_disruptor.gif]] Warp Disruptor | [[Image:visual2017_warp_disruptor.gif]] Warp Disruptor | ||
| Line 111: | Line 121: | ||
[[Image:visual2017_warp_scrambler.gif]] Warp Scrambler | [[Image:visual2017_warp_scrambler.gif]] Warp Scrambler | ||
Both warp disruption and warp scrambling effects are imitating cone-like radio | Both warp disruption and warp scrambling effects are imitating cone-like radio wave signals extending from ship to its target. | ||
< | |||
=== Interdiction Bubble === | |||
[[File:visual2017_interdiction_sphere_generator.gif]] Interdiction Sphere Generator activation<br> | |||
[[File:visual2017_interdiction_sphere_generator_close.gif]] Heavy Interdictor activating Interdiction Sphere Generator <br> | |||
[[File:visual2017_interdiction_probe.gif]] Interdiction Probe activation <br> | |||
== Anti-Tackle Modules == | |||
=== Warp Core Stabilizer === | |||
[[Image:visual2023_warp_core_stabilizer.gif]] | |||
When a Warp Core Stabilizer is used, cyan pulsing effect is seen on the surface of the ship. | |||
=== Interdiction Nullifier === | |||
[[Image: | [[Image:visual2023_interdiction_nullifier.gif]] | ||
The | The visual effect is similar to warp stabilization effect. | ||
== Electronic Warfare == | == Electronic Warfare == | ||
| Line 128: | Line 154: | ||
Modules designed for jamming targeting computers. | Modules designed for jamming targeting computers. | ||
Burst Jammer is universal area of | Burst Jammer is universal area of effect module able to disrupt targeting computers in the vicinity. <br> | ||
Please note, that ECM and | ECM Jammer is a focused cone-shaped beam designed to disrupt specific targeting systems.<br><br> | ||
{|class="collapsible collapsed" width="400" border= | '''Please note, that ECM and Remote Sensor Booster signals are almost identical''' | ||
{|class="collapsible collapsed" width="400" border=1 | |||
|- | |- | ||
!Signal side-by-side comparison | !Signal side-by-side comparison | ||
|- | |- | ||
|[[Image: | |[[Image:visual2017_sensor_jammer_stop.png]] | ||
[[Image: | [[Image:visual2017_remote_sensor_booster_stop.png]] Remote Sensor Booster <br> | ||
|} | |} | ||
<br> | |||
=== Sensor Booster === | === Sensor Booster === | ||
| Line 145: | Line 173: | ||
A sensor booster increases a ship's targeting range and locking speed, making it easier to catch and pin down ships. <br> | A sensor booster increases a ship's targeting range and locking speed, making it easier to catch and pin down ships. <br> | ||
It will also increase ships sensor | It will also increase ships sensor strength making your ship less susceptible to jamming. | ||
=== Tracking/Guidance Computer === | === Tracking/Guidance Computer === | ||
| Line 156: | Line 184: | ||
Guidance Computer boosts missile flight time and accuracy. | Guidance Computer boosts missile flight time and accuracy. | ||
=== Sensor Dampener/ | === Sensor Dampener/Tracking Disruptor === | ||
[[Image:visual2017_tracking_disruptor.gif]] Tracking/Guidance Disruptor <br> | [[Image:visual2017_tracking_disruptor.gif]] Tracking/Guidance Disruptor <br> | ||
[[Image:visual2017_sensor_dampner.gif]] Sensor | [[Image:visual2017_sensor_dampner.gif]] Sensor Dampener <br> | ||
Tracking Disruptor will decrease turret tracking speed and optimal range. <br> | |||
Guidance Disruptor will decrease missile maximum flight time and accuracy. <br> | |||
Sensor Dampener will reduce ships maximum targeting range and locking speed. <br> | |||
=== Target Painter === | === Target Painter === | ||
[[Image: | [[Image:visual2017_target_painter.gif]]<br> | ||
''CAUTION - powerful laser radiation. Avoid direct eye exposure !'' <br> | |||
(but makes stuff easier to hit) | |||
== Weapon Systems == | |||
== Smartbomb == | === Smartbomb === | ||
Smartbombs are bad news unless it's you doing it. Don't wait around to get blown up and podded. | Smartbombs are bad news unless it's you doing it. Don't wait around to get blown up and podded. | ||
| Line 188: | Line 219: | ||
|} | |} | ||
== Missile Warheads == | === Missile Warheads === | ||
Missiles, rockets and torpedoes go BOOM when they hit something. | Missiles, rockets and torpedoes go BOOM when they hit something. | ||
| Line 198: | Line 229: | ||
!Remaining warhead explosion effects | !Remaining warhead explosion effects | ||
|- | |- | ||
|[[Image:visual2017_warhead_scourge.gif]]<br>Scourge Warhead <br> (dealing | |[[Image:visual2017_warhead_scourge.gif]]<br>Scourge Warhead <br> (dealing Kinetic damage) | ||
|[[Image:visual2017_warhead_mjolnir.gif]]<br>Mjolnir Warhead <br> (dealing EM damage) | |[[Image:visual2017_warhead_mjolnir.gif]]<br>Mjolnir Warhead <br> (dealing EM damage) | ||
|[[Image:visual2017_warhead_nova.gif]]<br>Nova Warhead <br> (dealing Explosive damage) | |[[Image:visual2017_warhead_nova.gif]]<br>Nova Warhead <br> (dealing Explosive damage) | ||
|} | |} | ||
== Cloaking Device == | === Turret Fire === | ||
There are three main turret types and each of them have two subtypes. <br> | |||
Distinct visual effects allow for easy identification. <br> | |||
'''Different ammunition types may/will change tracer colour''' | |||
{|class="collapsible collapsed" width="400" border=1 | |||
|- | |||
!Energy Turrets | |||
|- | |||
|[[Image:visual2017_beam_hit.gif]] <br> Beam Laser (hit) | |||
|[[Image:visual2017_beam_shot.gif]] <br> Beam Laser | |||
|- | |||
|[[Image:visual2017_pulse_hit.gif]] <br> Pulse Laser (hit) | |||
|[[Image:visual2017_pulse_shot.gif]] <br> Pulse Laser | |||
|} | |||
{|class="collapsible collapsed" width="400" border=1 | |||
|- | |||
!Hybrid Turret | |||
|- | |||
|[[Image:visual2017_rail_hit.gif]] <br> Railgun (hit) | |||
|[[Image:visual2017_rail_shot.gif]] <br> Railgun | |||
|- | |||
|[[Image:visual2017_blaster_hit.gif]] <br> Blaster (hit) | |||
|[[Image:visual2017_blaster_shot.gif]] <br> Blaster | |||
|} | |||
{|class="collapsible collapsed" width="400" border=1 | |||
|- | |||
!Projectile Turrets | |||
|- | |||
|[[Image:visual2017_altilery_hit.gif]] <br> Artillery (hit) | |||
|[[Image:visual2017_altilery_shot.gif]] <br> Artillery | |||
|- | |||
|[[Image:visual2017_autocannon_hit.gif]] <br> Autocannon (hit) | |||
|[[Image:visual2017_autocannon_shot.gif]] <br> Autocannon | |||
|} | |||
== Non-Combat Modules == | |||
=== Cloaking Device === | |||
Your ship shimmers before disappearing from view. | Your ship shimmers before disappearing from view. | ||
| Line 209: | Line 282: | ||
[[File:visual2017_cloak.gif]] | [[File:visual2017_cloak.gif]] | ||
== Tractor Beam == | === Tractor Beam === | ||
This shows as a fluctuating cone of light blue light towards the target bringing it closer to the ship. | This shows as a fluctuating cone of light blue light towards the target bringing it closer to the ship. | ||
| Line 215: | Line 288: | ||
[[File:visual2017_tractor_beam.gif]] | [[File:visual2017_tractor_beam.gif]] | ||
== Salvager == | === Salvager === | ||
A beam of white light hits the target and salvage process begins. | A beam of white light hits the target and salvage process begins. | ||
| Line 221: | Line 294: | ||
[[File:visual2017_salvager.gif]] | [[File:visual2017_salvager.gif]] | ||
== Triage == | === Scanners === | ||
[[File:visual2017_cargo_scanner.gif]] Cargo Scanner <br> | |||
[[File:visual2017_ship_scanner.gif]] Ship Scanner <br> | |||
[[File:visual2017_survey_scanner.gif]] Survey Scanner <br> | |||
=== Cynosural Beacon === | |||
[[File:visual2017_covert_cyno.gif]] Covert Cynosural Field Generator is active <br> | |||
[[File:visual2017_cyno.gif]] Cynosural Field Generator is active <br> | |||
=== Jump Portal === | |||
Jump portals can be generated only by Black-Ops and Titan class ships. | |||
[[File:visual2017_jump_portal.gif]] Jump Portal is active <br> | |||
[[File:visual2017_jump_portal_stop.png]] How actually '''YOU''' will see when Jump Portal is active (most of the times, since animation is HUGE) <br> | |||
=== Jump Drive === | |||
Black-Ops battleships, Jump Freighters and Capital-sized ships are capable of traveling to remote solar systems without the use of Jump-Gates. <br> | |||
All they need is Cynosural Field they can lock on to. | |||
[[File:visual2017_jump_drive_blobs.gif]] Black-Ops Jump Drive activation <br> | |||
[[File:visual2017_jump_drive_cap.gif]] Capital Ship Jump Drive activation <br> | |||
=== Triage === | |||
Apostle entering Triage Mode | |||
[[File: | [[File:visual2017_triage.gif]] | ||
== Notes == | == Notes == | ||
| Line 231: | Line 338: | ||
This guide has omitted some information due to its inaccessibility to the author. Please feel free to correct any mistakes, add more information or edit this list of graphical ship effects which were not included and need to be added in the future. | This guide has omitted some information due to its inaccessibility to the author. Please feel free to correct any mistakes, add more information or edit this list of graphical ship effects which were not included and need to be added in the future. | ||
LoTTD: | |||
*Regular Bombs | |||
*Bastion Mode on Marauders and Dreadnoughts | |||
*Entropic Disintegrator | |||
*Vorton Projector | |||
*Mutadaptive Remote Armor Repairer(?) | |||
*Harvesting Modules, such as Gas Scoop/Harvester and Mining Laser | |||
[[Category:Game mechanics]] | |||
[[Category:Guides]] | [[Category:Guides]] | ||
Latest revision as of 22:47, 30 March 2025
This guide is intended to introduce beginners to the visual cues EVE Online has for the various modules, so that you can recognise what's being done to your ship in combat (and hopefully, how to counter it). Each visual effect has an animated GIF illustrating what it looks like.
However in case the animations do not load properly each effect also has a link to a static picture as well. (static images coming soon)
WARNING: picture heavy!
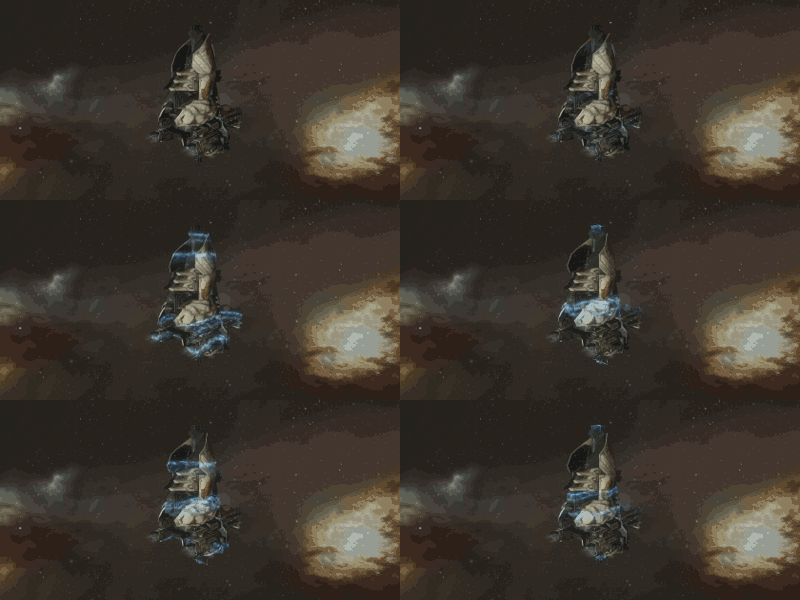
Local Repair Modules
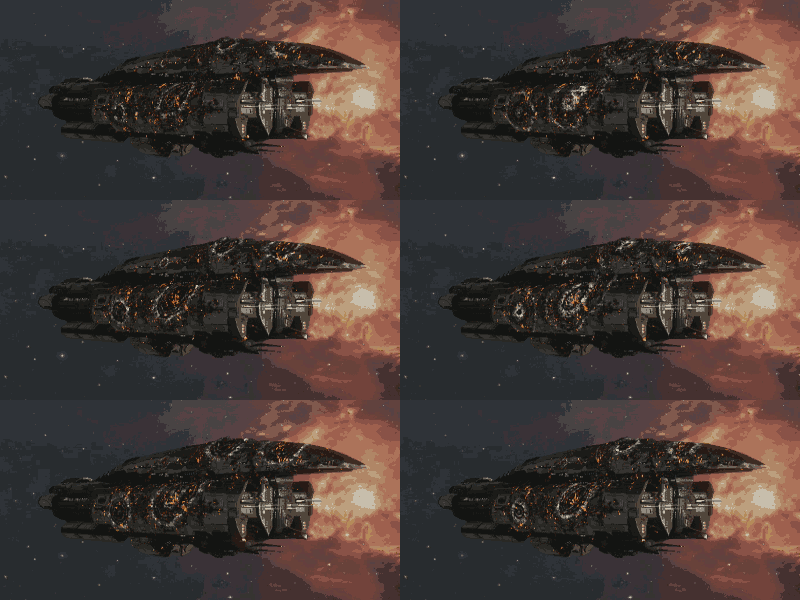
Armour Repairer
An armour repairer, as the name suggests, actively repairs the ship's armour whilst the module is active.
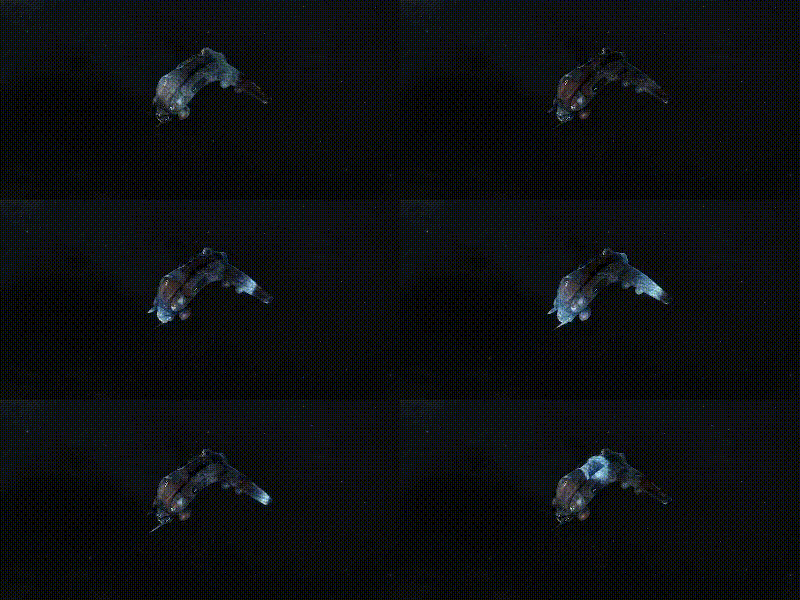
The visibility of the armour repairer in action is limited to damaged sections of the ships model.
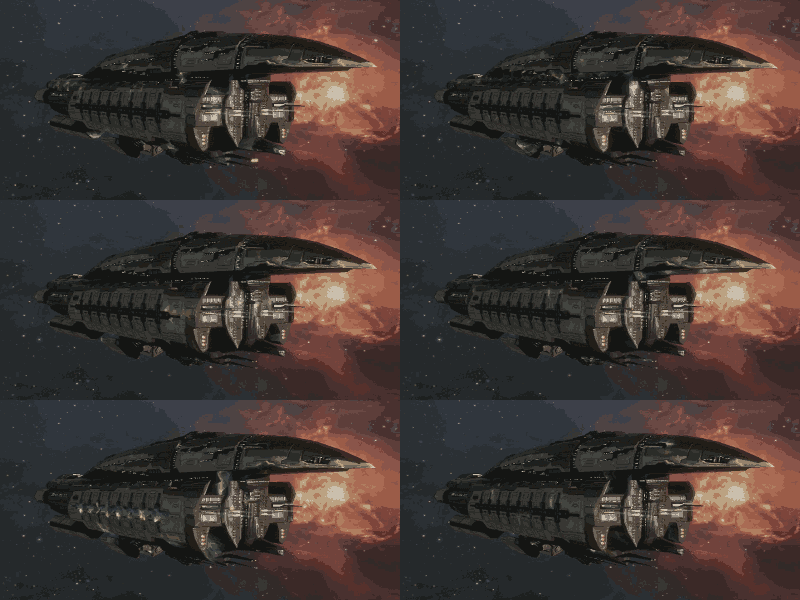
Hull Repairer
Just as the armour repairer repairs armour, the hull repairer repairs hull damage whilst active.
You won't often see this in space, since active hull tanking is daft. Whilst similar to the armour repair animation. It will be visible only on damaged sections of the ships model.
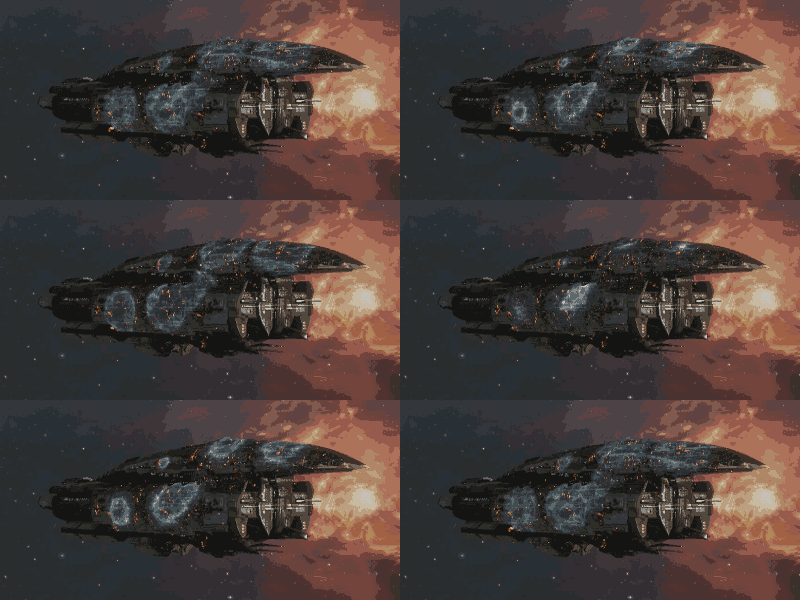
Shield Booster
The shield booster does for shield what the two previous modules did for armour & hull.
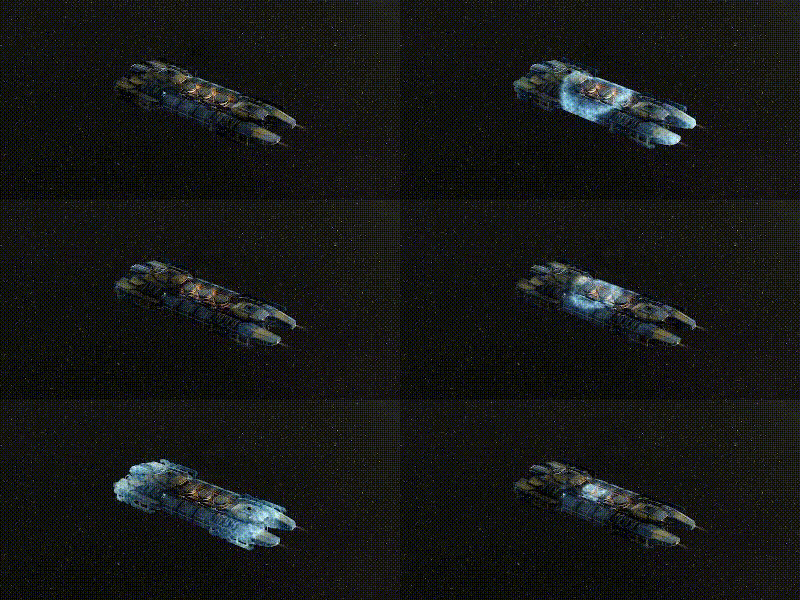
The shield booster is easier to see. One thing which sets this apart from the armour & hull repairers is that the animation is offset from the ship surface.
Colour of shield hardening depends on ships faction of origin.
Active Hardener Modules
Armour Hardener
The armour hardener if activated increases armour resistance to incoming damage
Colour of armour hardening depends on ships faction of origin, not the module or the resistance type itself.
Shield Hardener
The shield hardener if activated increases shield resistance to incoming damage
Colour of shield hardening depends on ships faction of origin, not the module or the resistance type itself.
Assault Damage Control
Visual effect is similar to warp stabilization effect.
Remote Repair Modules
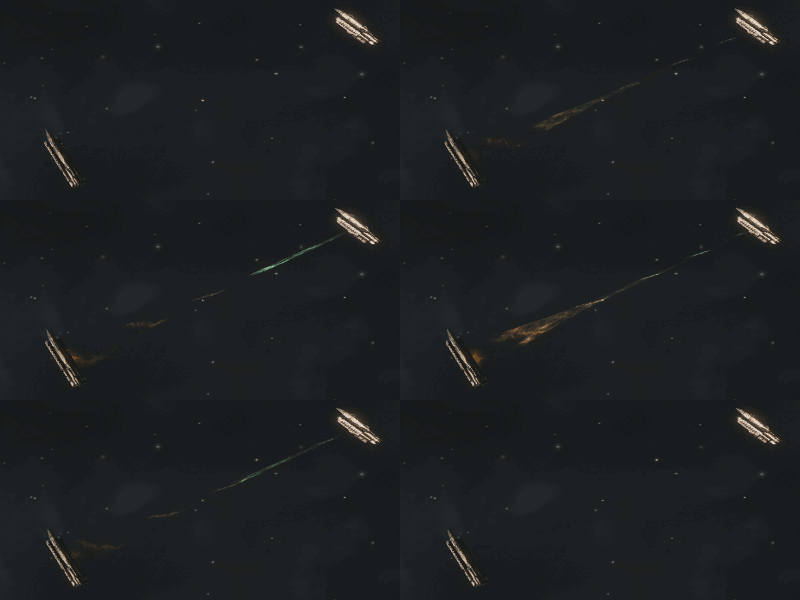
Armour/Hull Repairer
The remote armour repairer is used to repair your fleet mates taking damage.
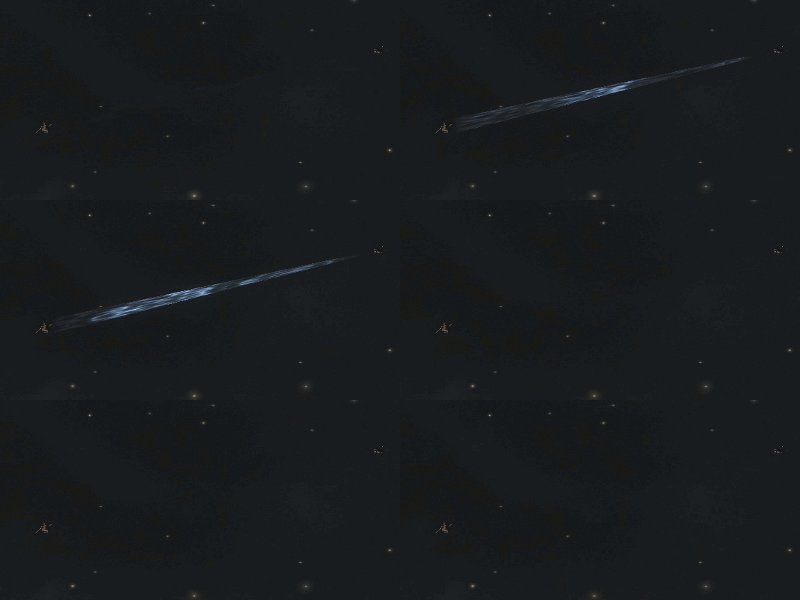
Appears as a green and orange cone/cyclone which extends from the ship to the target. The remote hull repair module has exactly the same animation.
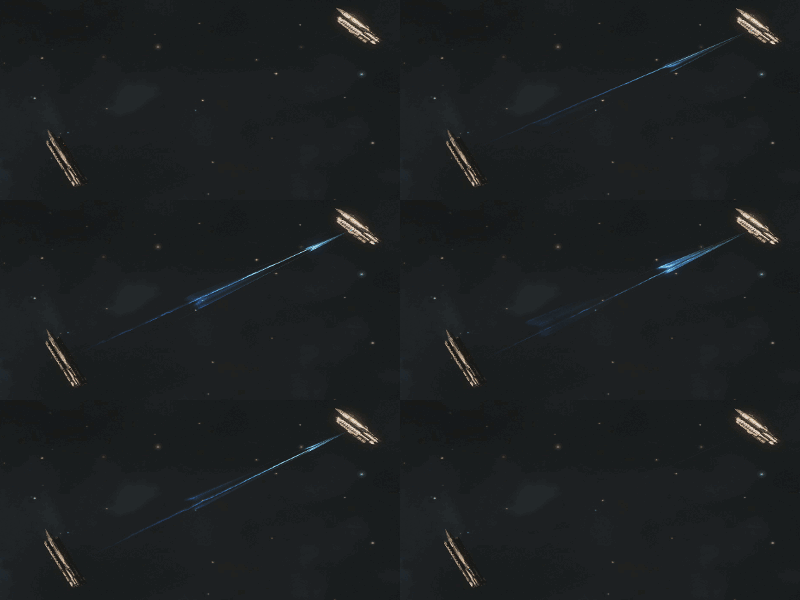
Shield Transporter
The remote shield repairer is known as a shield transporter, and repairs your fleet mates' shield damage. Note that despite its name, it does not reduce your own shield.
The shield transporter is seen as a blue star-burst and beam pointed at the target with a cone of blue rings moving towards the target.
Remote Energy Modules
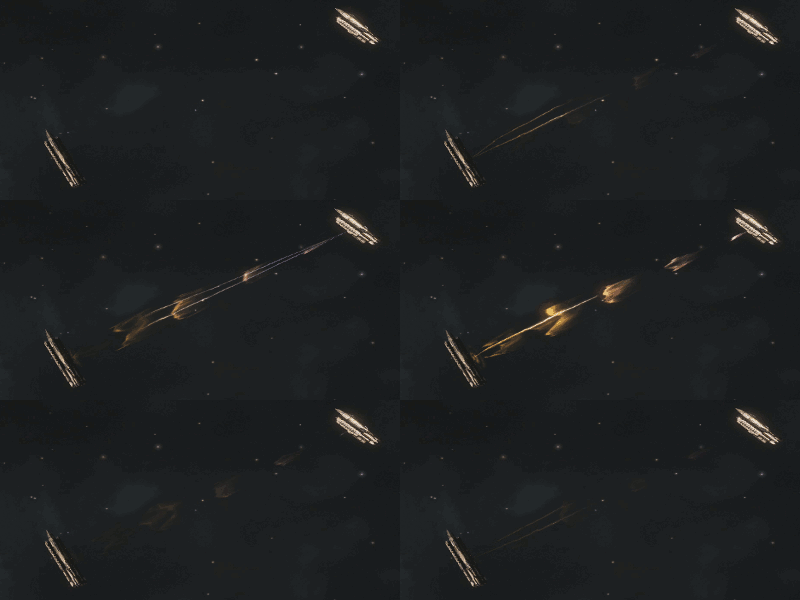
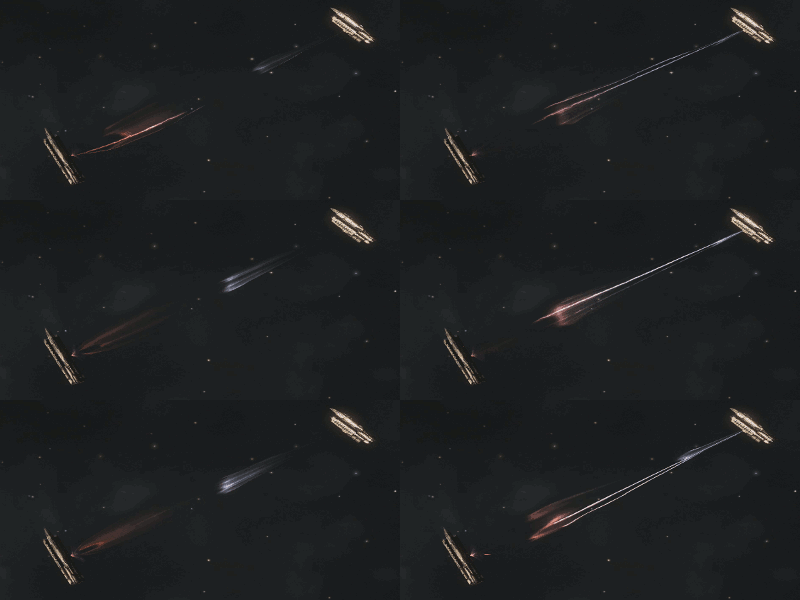
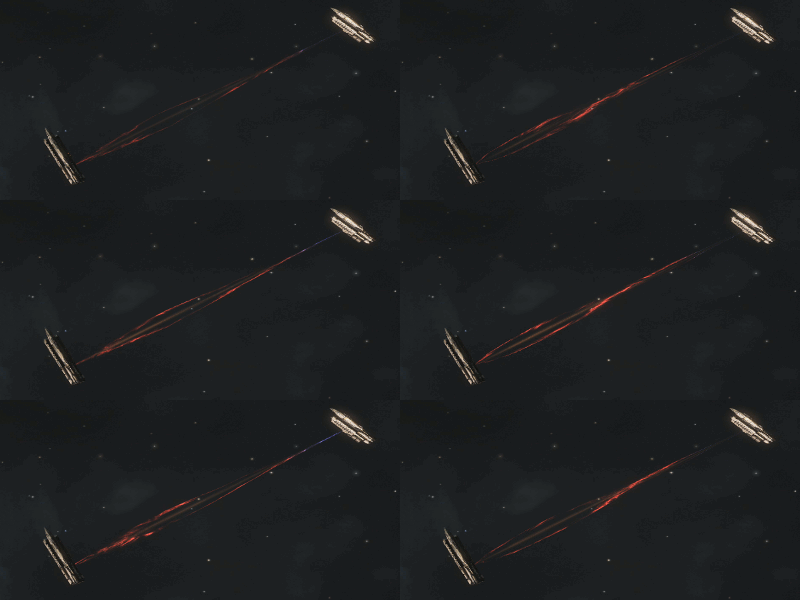
For each of these modules, the ship on the right is activating the module, targeting the ship on the left.
Energy Transfer
Energy transfer takes a portion of your own capacitor and adds it to the target's. Thus, this is a module you use on a friendly ship to increase their capacitor.
The golden beams shift, strobe and move violently when the module is active.
Energy Destabilizer
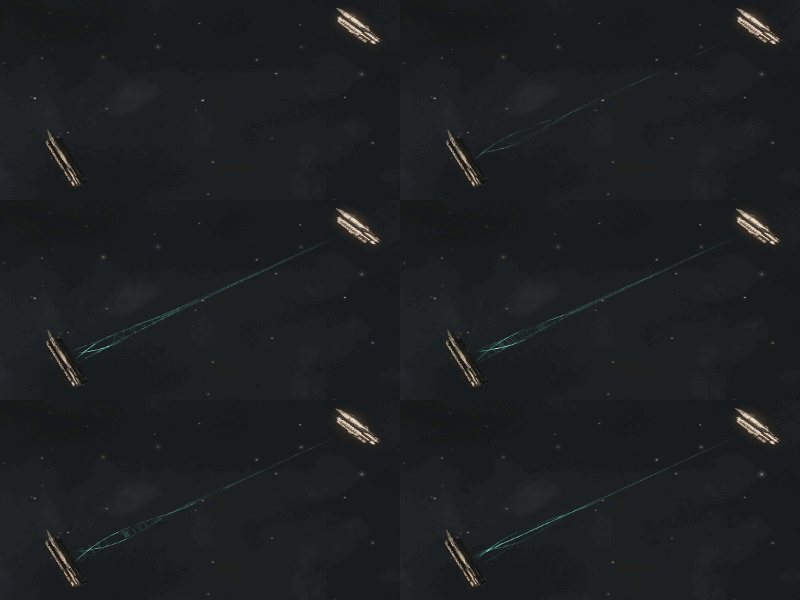
An energy destabilizer - also known as a neutralizer or "neut" - removes some energy of the target ship's capacitor. Thus this is a hostile module you would activate on enemy ships to shut down their active modules.
This looks like an energy transfer effect, except blue & pink instead of gold.
Energy Vampire
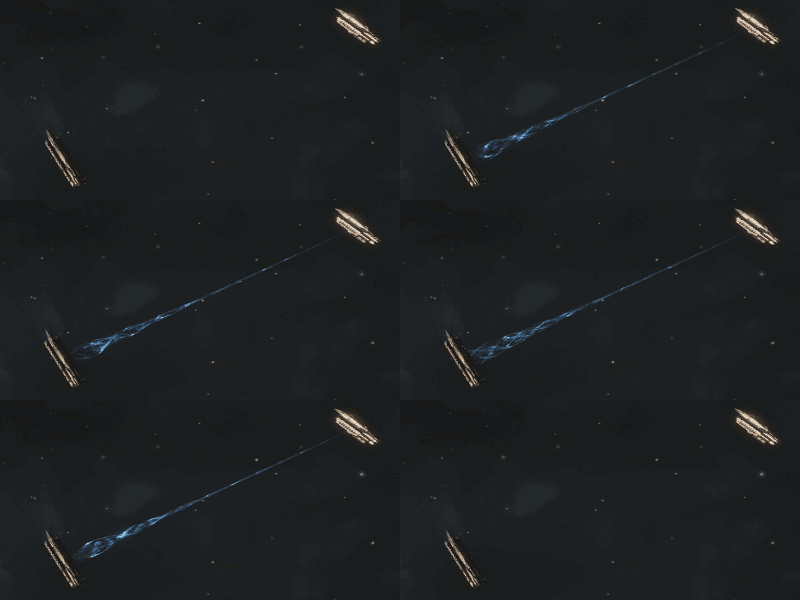
Also known as a nosferatu or "nos" - the energy vampire takes some of the enemy's capacitor energy and adds it to your own. This can be useful for both annoying the enemy and helping to keep your own active modules running.
There is a red beam pointing towards the target with a shifting and spiraling red cyclone.
Tackle Modules
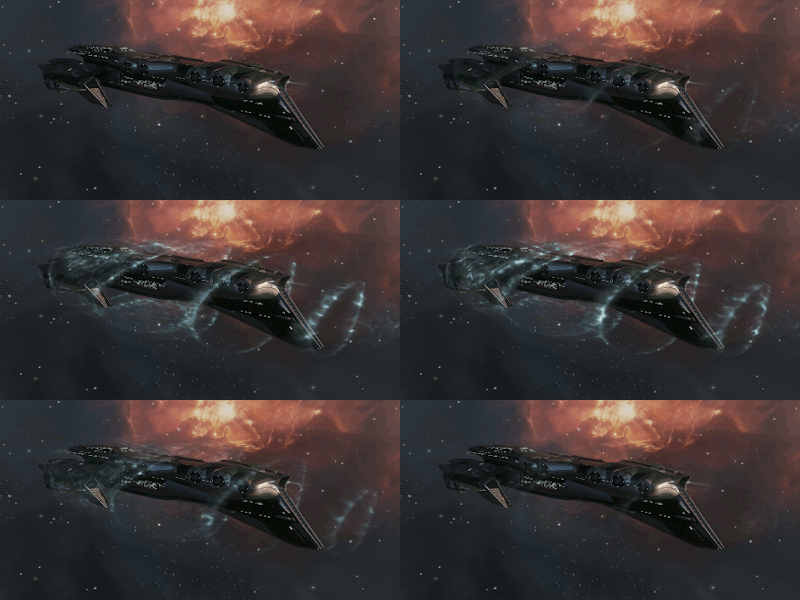
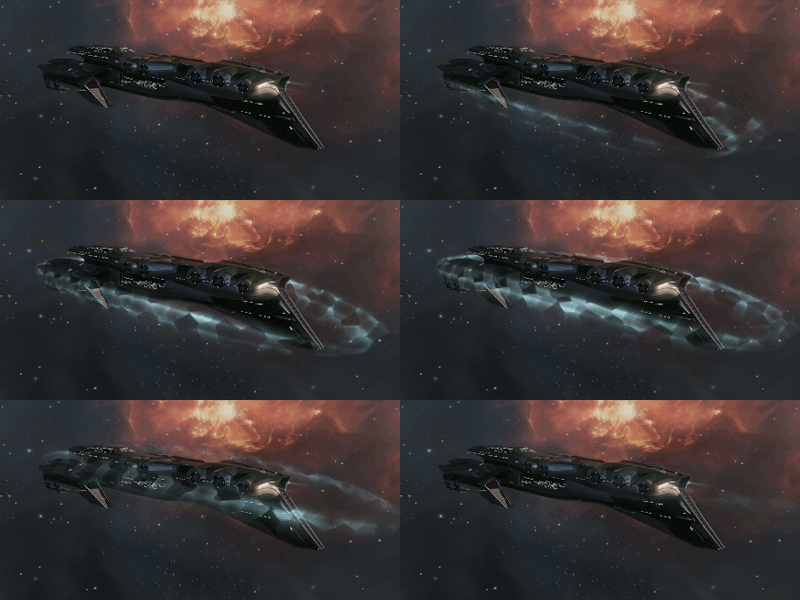
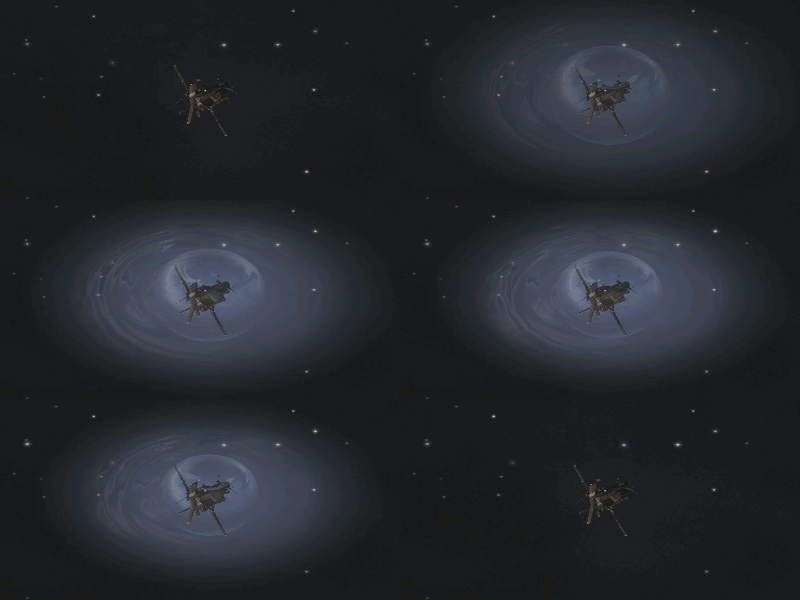
Stasis Webifier
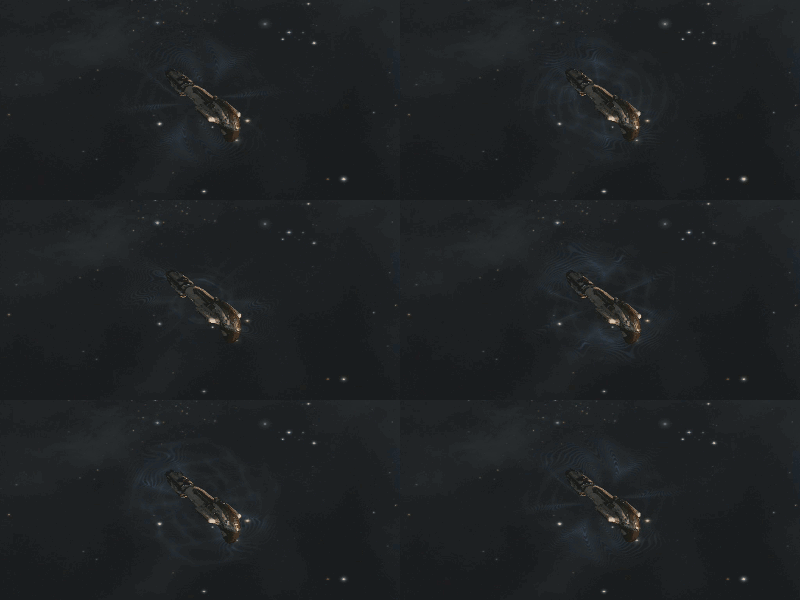
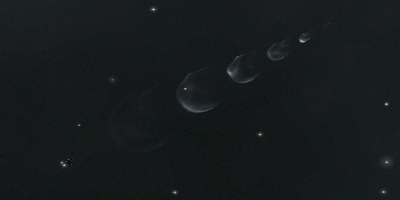
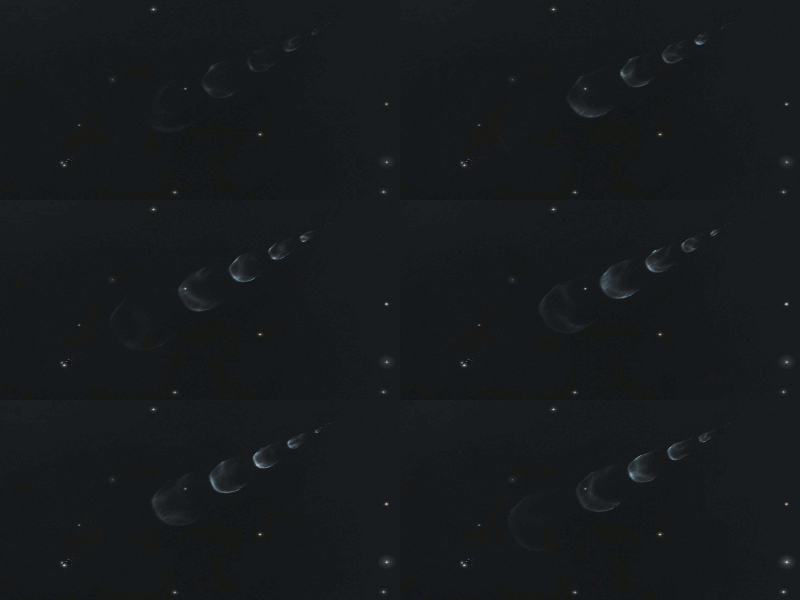
The webifier doesn't have a ship-to-ship effect, just a kind of circular ripple effect around the target.
Warp Disruptor and Warp Scrambler
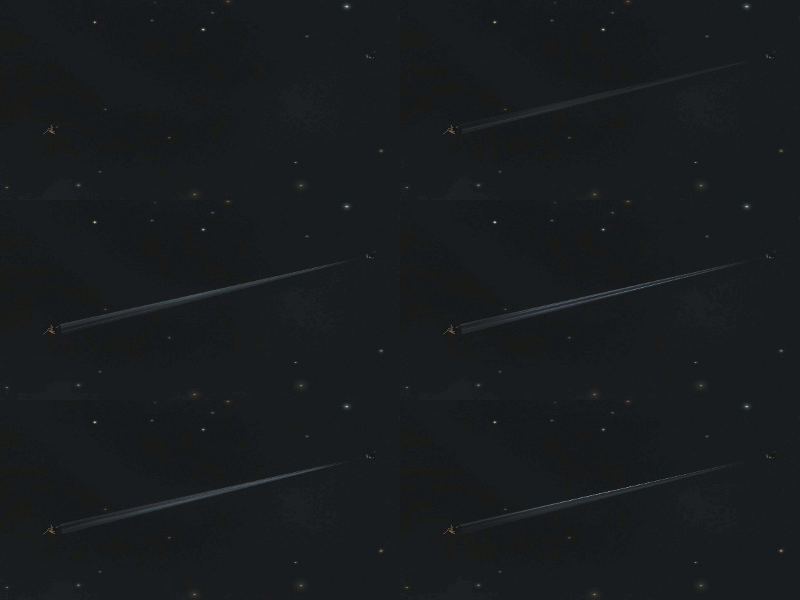
Both warp disruption and warp scrambling effects are imitating cone-like radio wave signals extending from ship to its target.
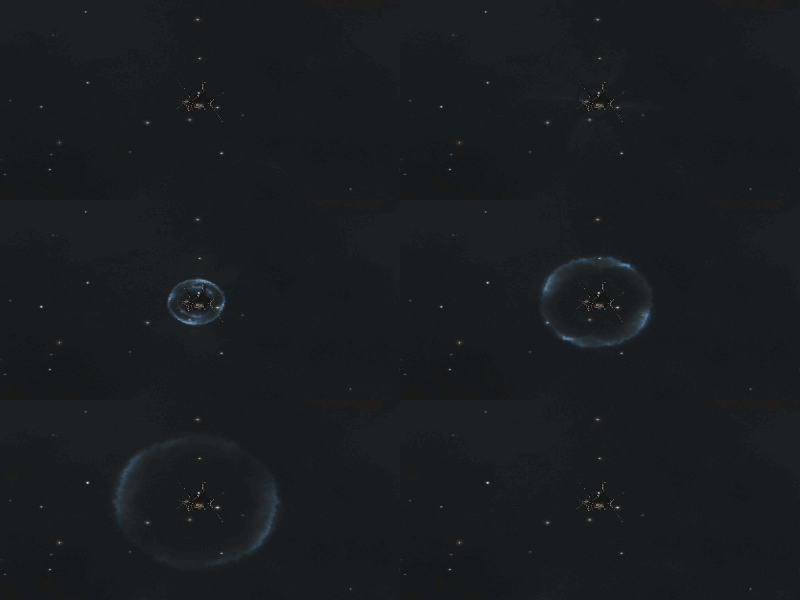
Interdiction Bubble
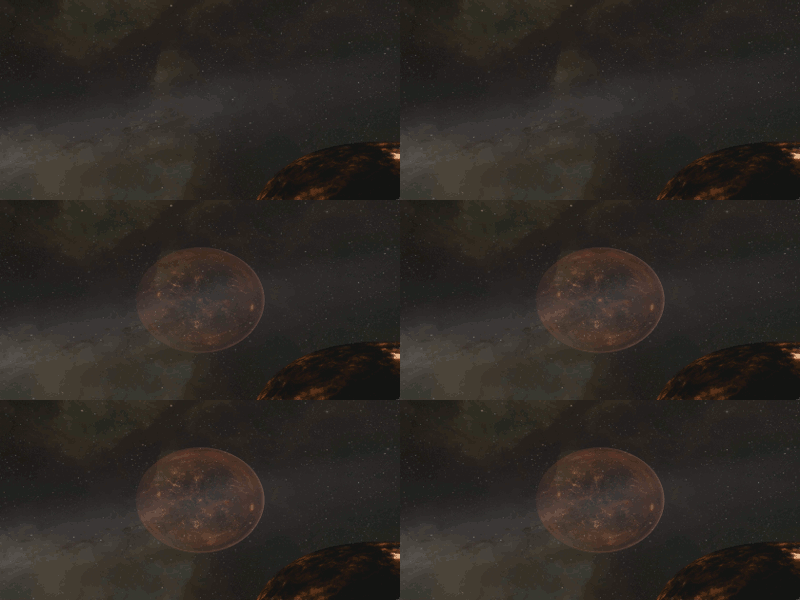 Interdiction Sphere Generator activation
Anti-Tackle Modules
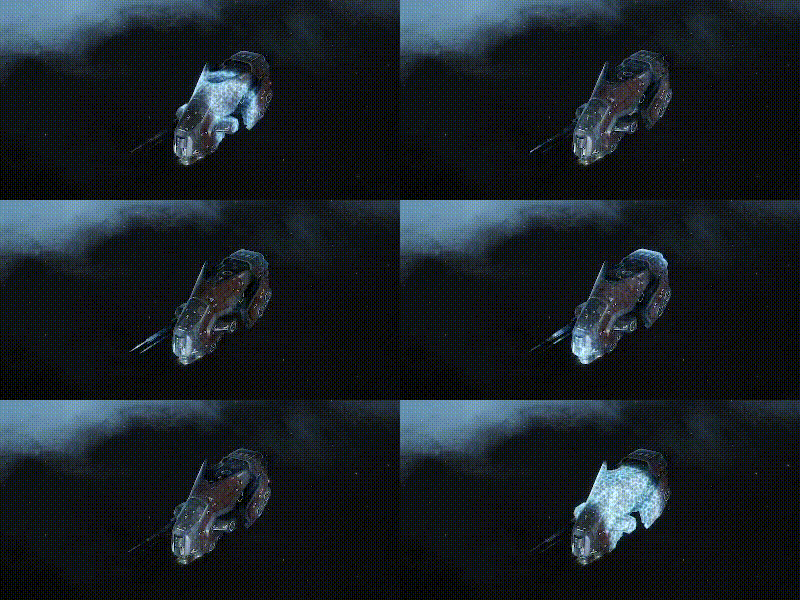
Warp Core Stabilizer
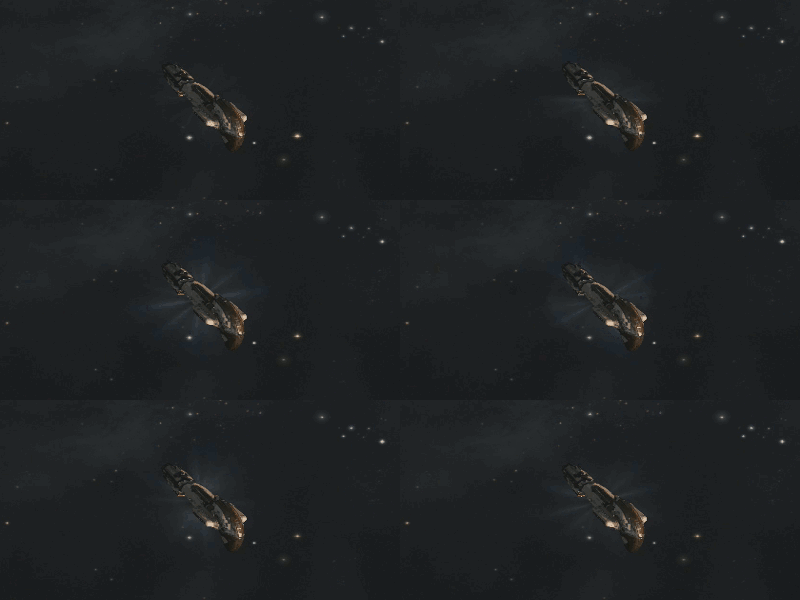
When a Warp Core Stabilizer is used, cyan pulsing effect is seen on the surface of the ship.
Interdiction Nullifier
The visual effect is similar to warp stabilization effect.
Electronic Warfare
ECM Jammer
Modules designed for jamming targeting computers.
Burst Jammer is universal area of effect module able to disrupt targeting computers in the vicinity.
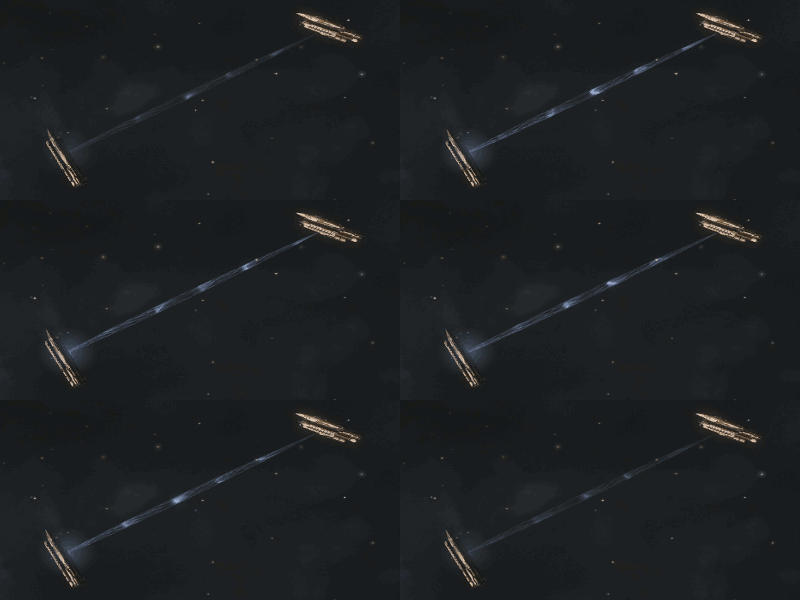
ECM Jammer is a focused cone-shaped beam designed to disrupt specific targeting systems.
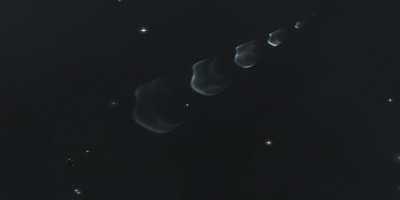
Please note, that ECM and Remote Sensor Booster signals are almost identical
| Signal side-by-side comparison |
|---|
|
Sensor Booster
A sensor booster increases a ship's targeting range and locking speed, making it easier to catch and pin down ships.
It will also increase ships sensor strength making your ship less susceptible to jamming.
Tracking/Guidance Computer
Tracking Computer boosts your turrets tracking speed and optimal range.
Guidance Computer boosts missile flight time and accuracy.
Sensor Dampener/Tracking Disruptor
Tracking Disruptor will decrease turret tracking speed and optimal range.
Guidance Disruptor will decrease missile maximum flight time and accuracy.
Sensor Dampener will reduce ships maximum targeting range and locking speed.
Target Painter
CAUTION - powerful laser radiation. Avoid direct eye exposure !
(but makes stuff easier to hit)
Weapon Systems
Smartbomb
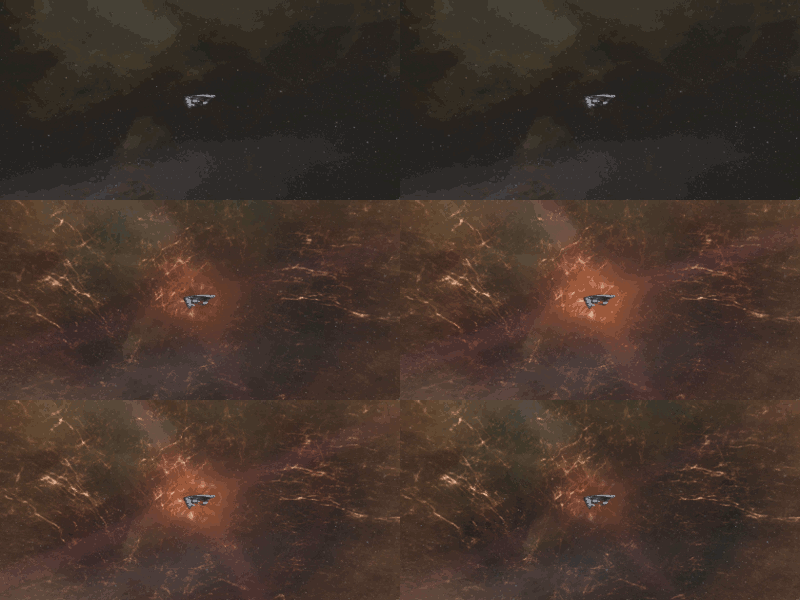
Smartbombs are bad news unless it's you doing it. Don't wait around to get blown up and podded. Smartbombs are bright and obvious - a huge explosion-effect centred on the ship.

Plasma Smartbomb
(dealing Thermal damage)
| Remaining smartbomb visual effects | ||
|---|---|---|
 Graviton Smartbomb (dealing Kibnetic damage) |
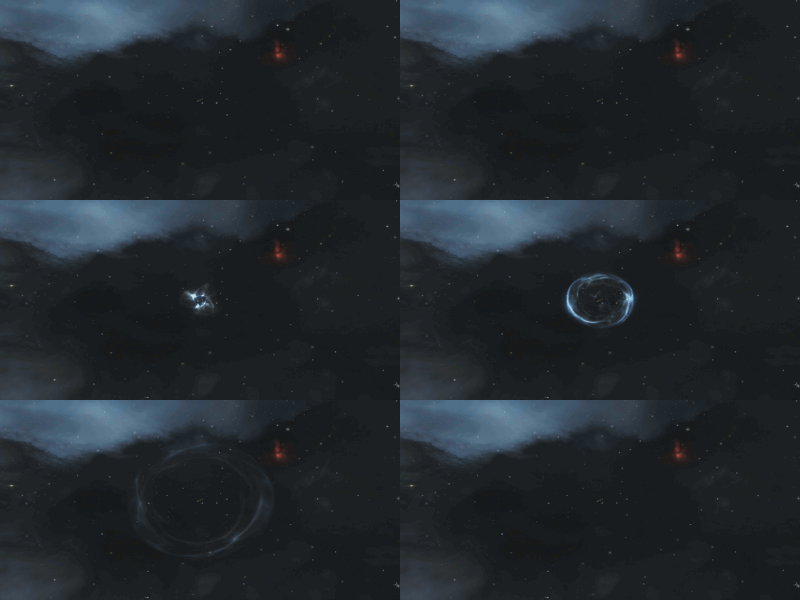 EMP Smartbomb (dealing EM damage) |
 Proton Smartbomb (dealing Explosive damage) |
Missile Warheads
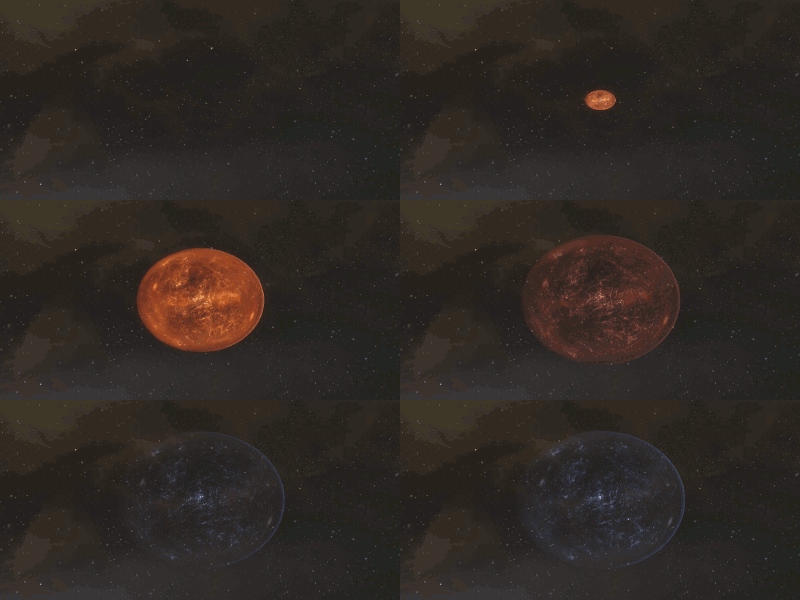
Missiles, rockets and torpedoes go BOOM when they hit something.
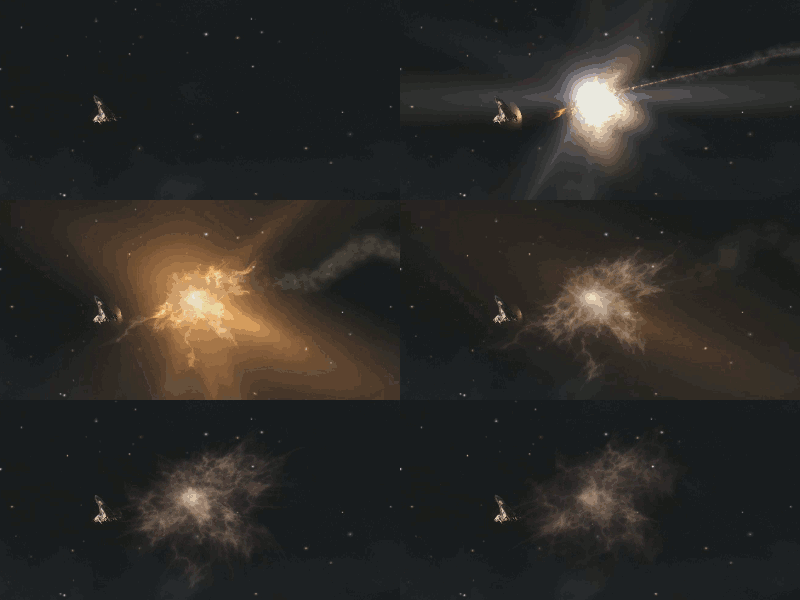
Inferno Warhead
(dealing Thermal damage)
| Remaining warhead explosion effects | ||
|---|---|---|
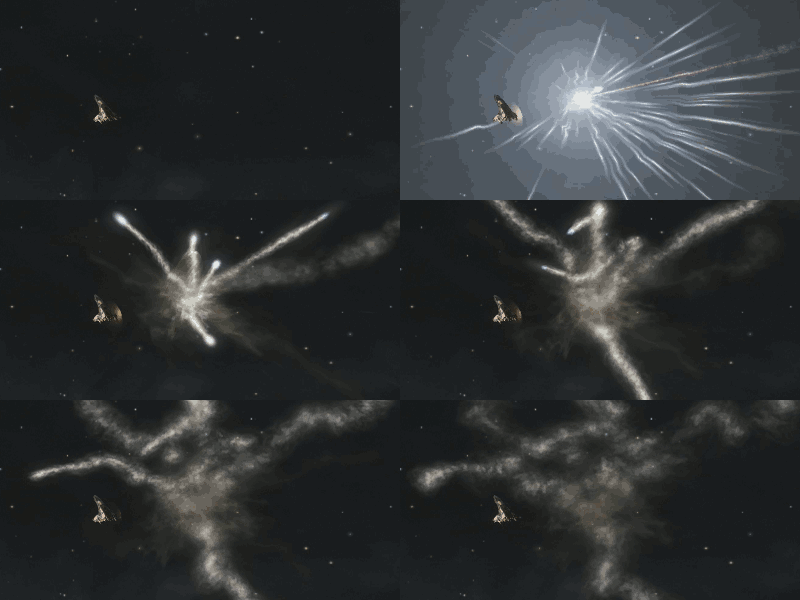 Scourge Warhead (dealing Kinetic damage) |
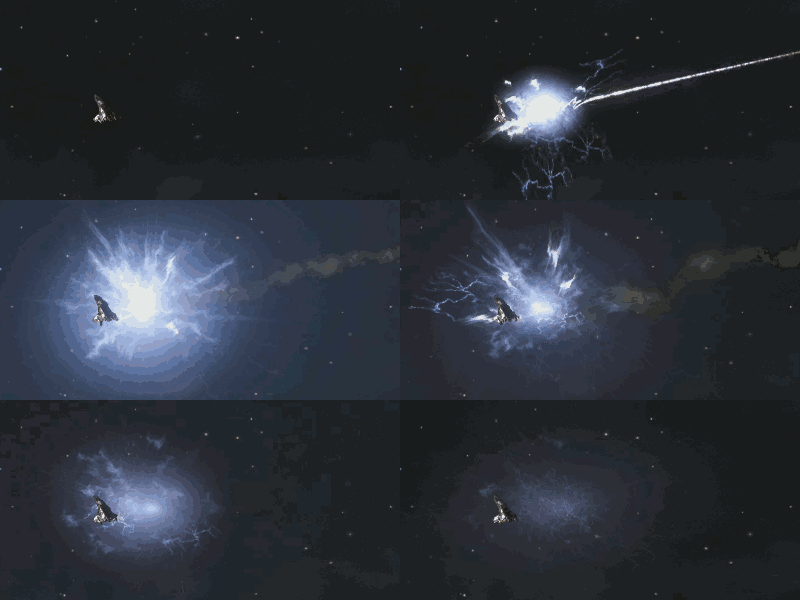 Mjolnir Warhead (dealing EM damage) |
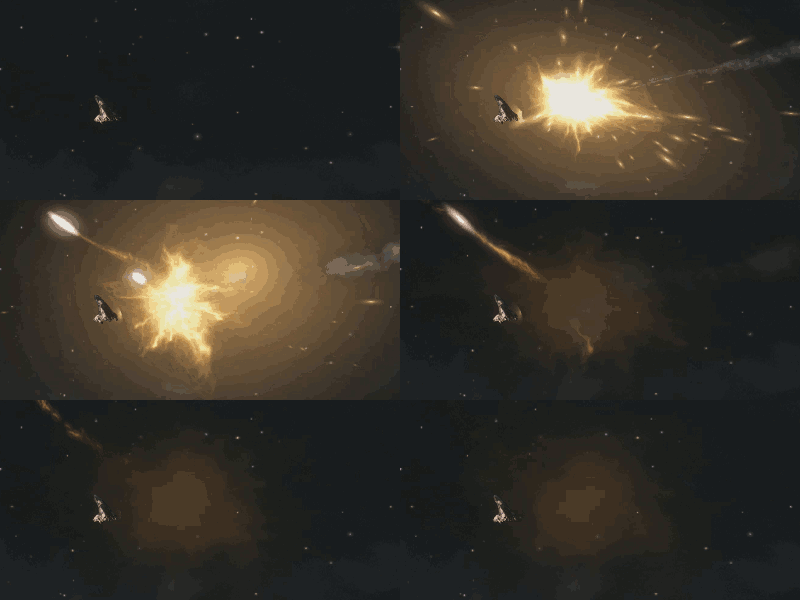 Nova Warhead (dealing Explosive damage) |
Turret Fire
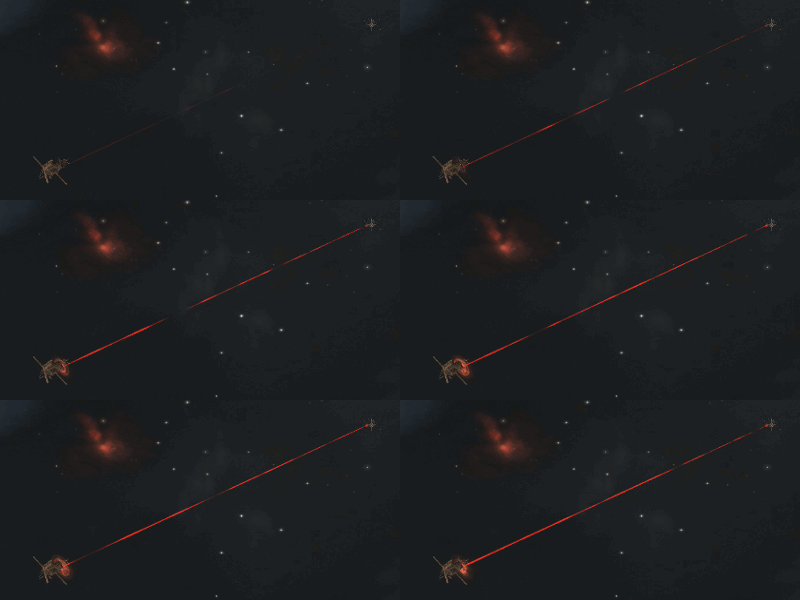
There are three main turret types and each of them have two subtypes.
Distinct visual effects allow for easy identification.
Different ammunition types may/will change tracer colour
| Energy Turrets | |
|---|---|
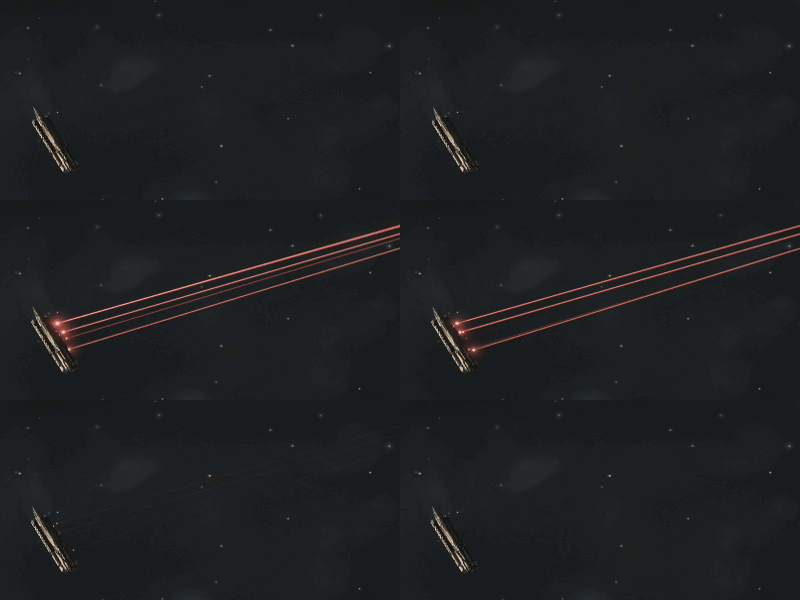 Beam Laser (hit) |
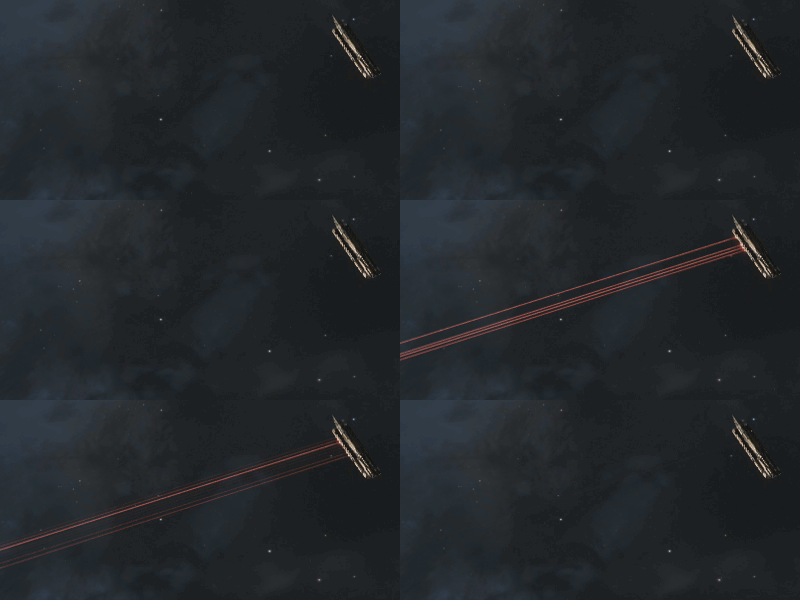 Beam Laser |
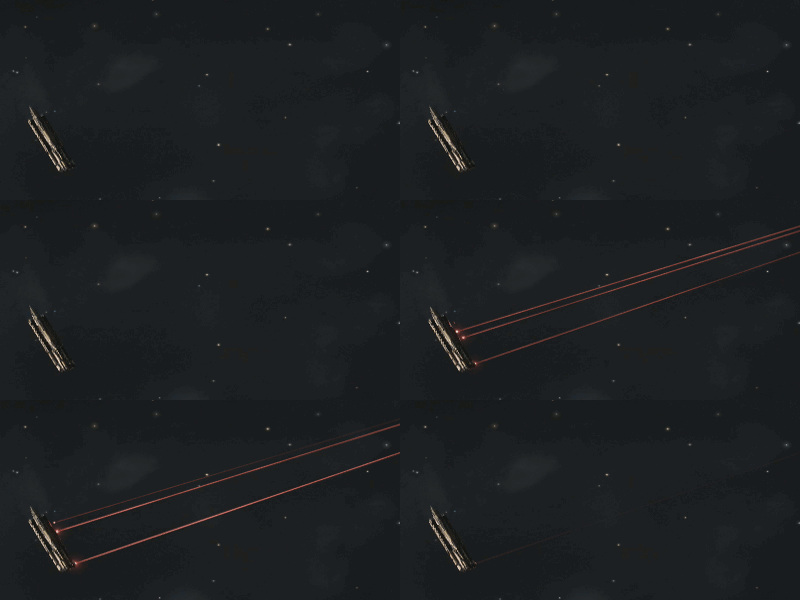 Pulse Laser (hit) |
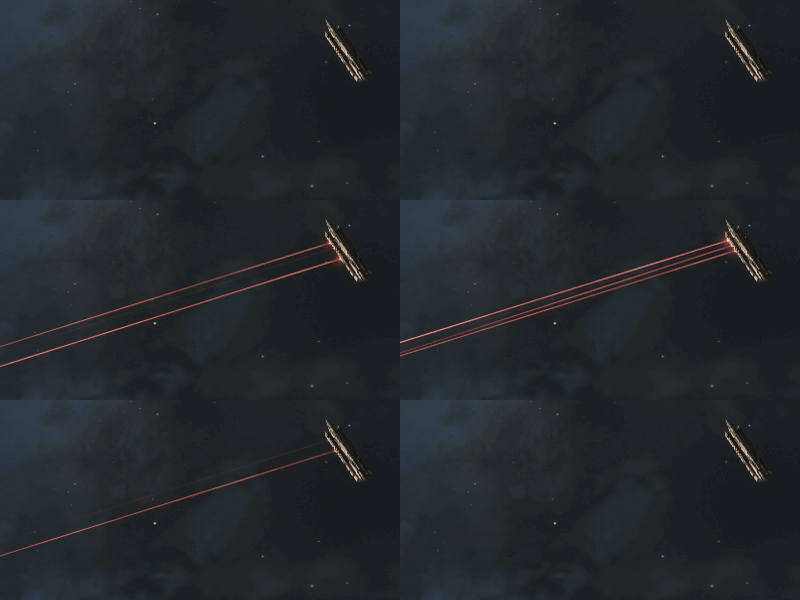 Pulse Laser |
| Hybrid Turret | |
|---|---|
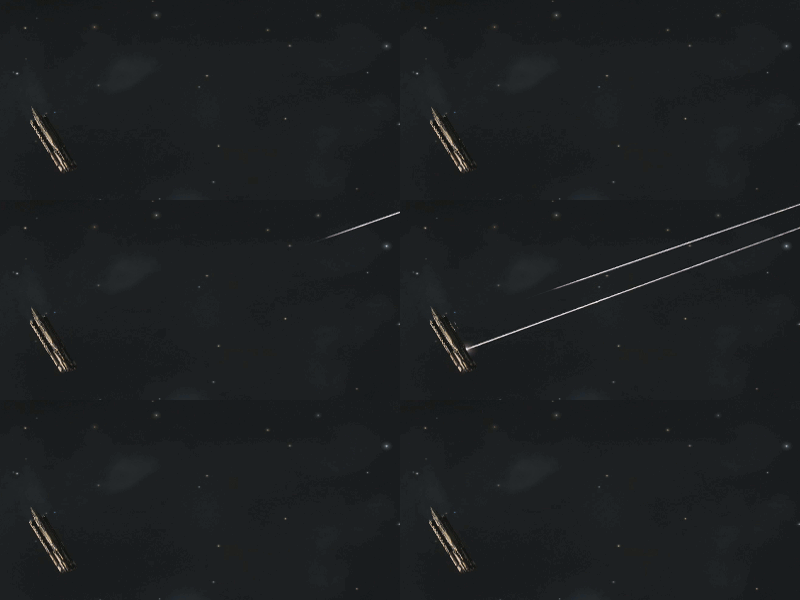 Railgun (hit) |
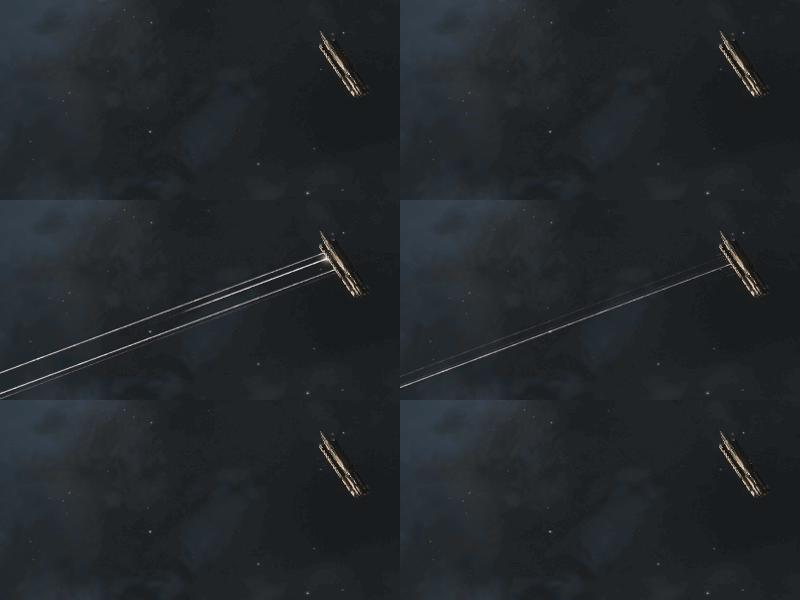 Railgun |
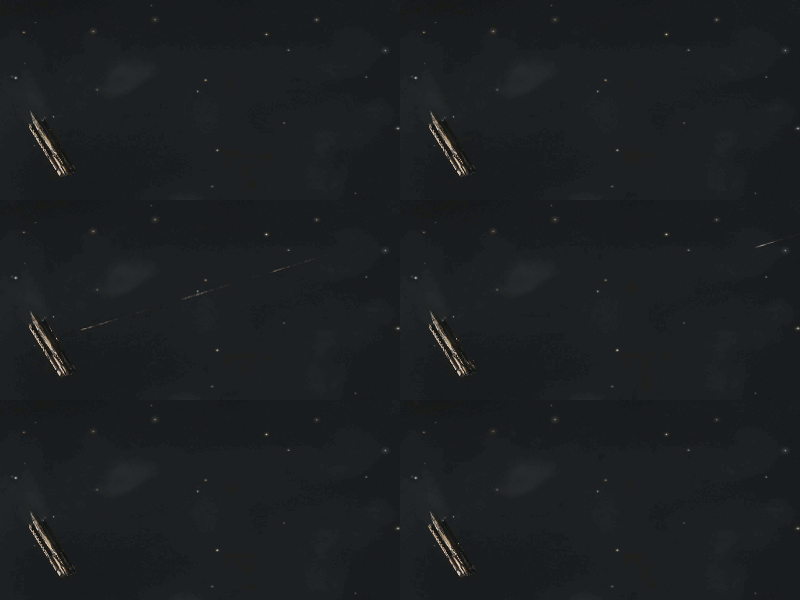 Blaster (hit) |
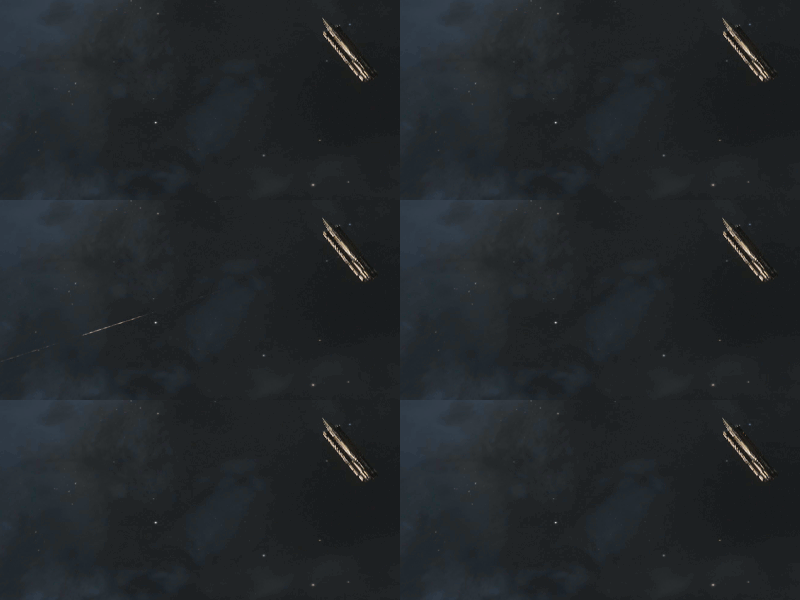 Blaster |
| Projectile Turrets | |
|---|---|
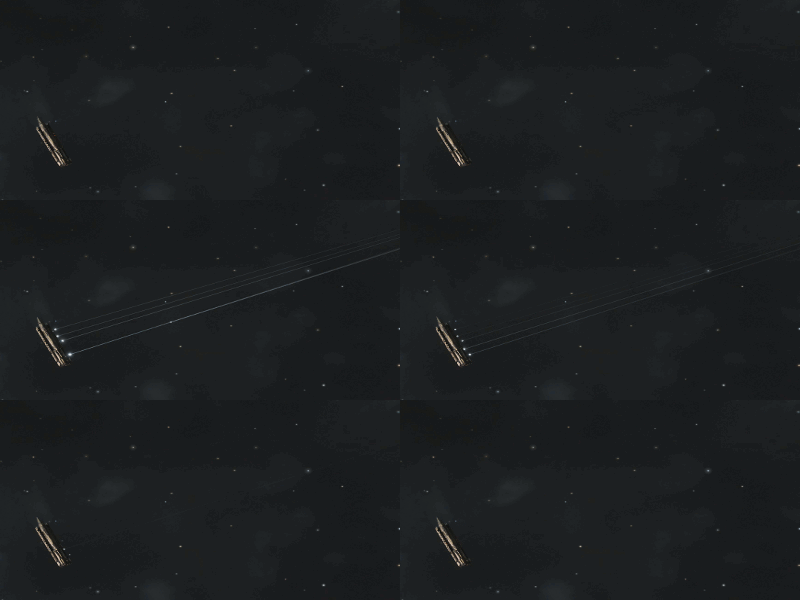 Artillery (hit) |
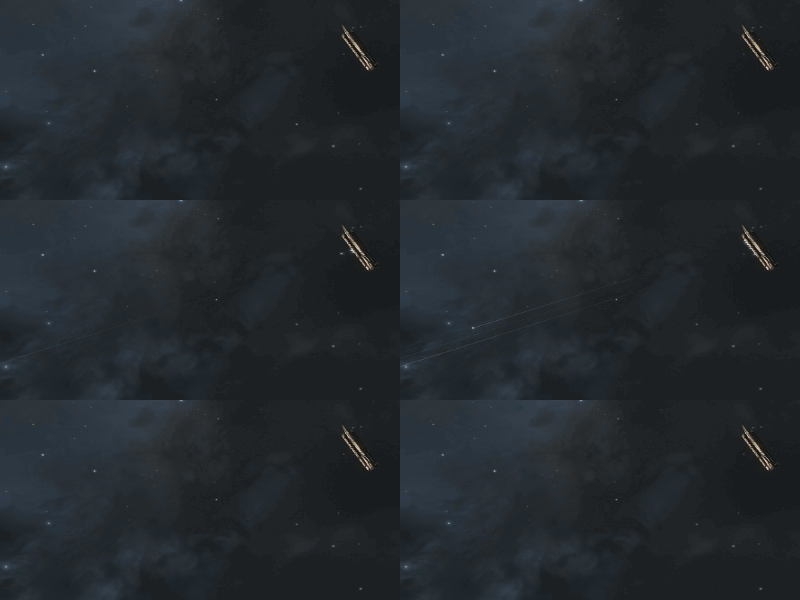 Artillery |
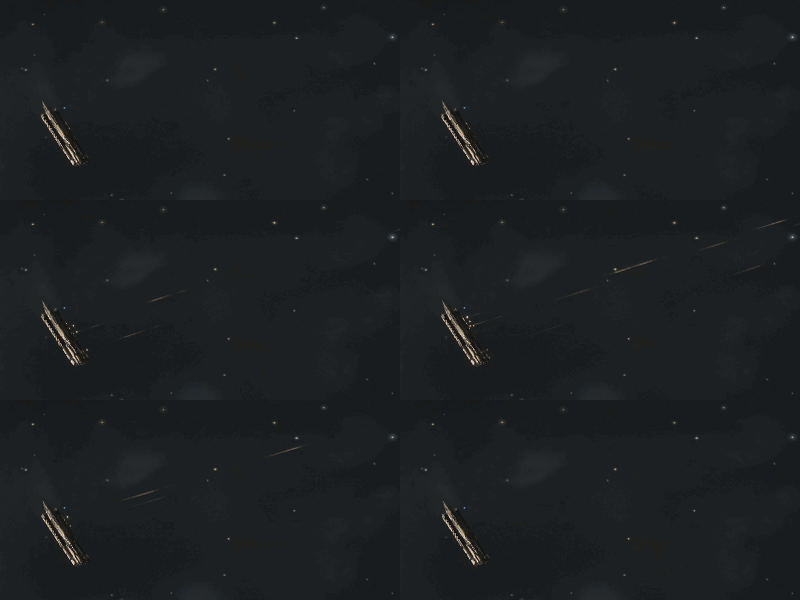 Autocannon (hit) |
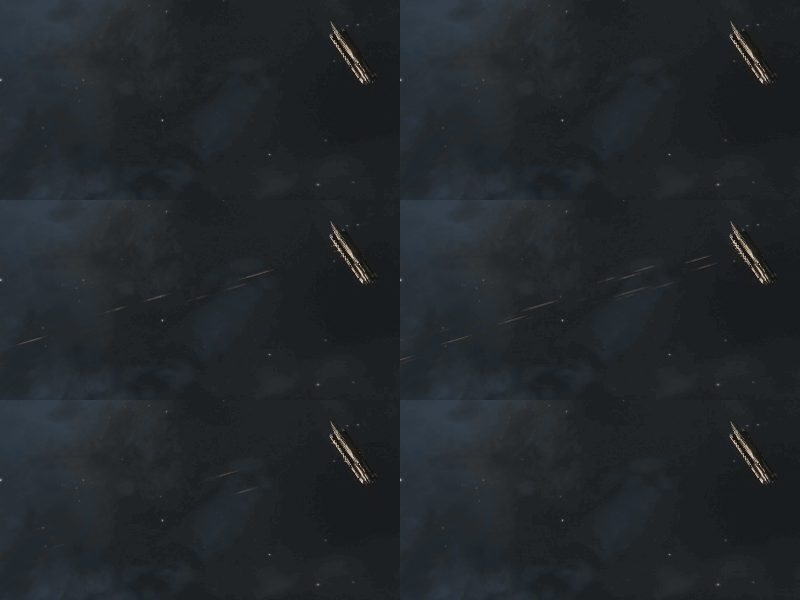 Autocannon |
Non-Combat Modules
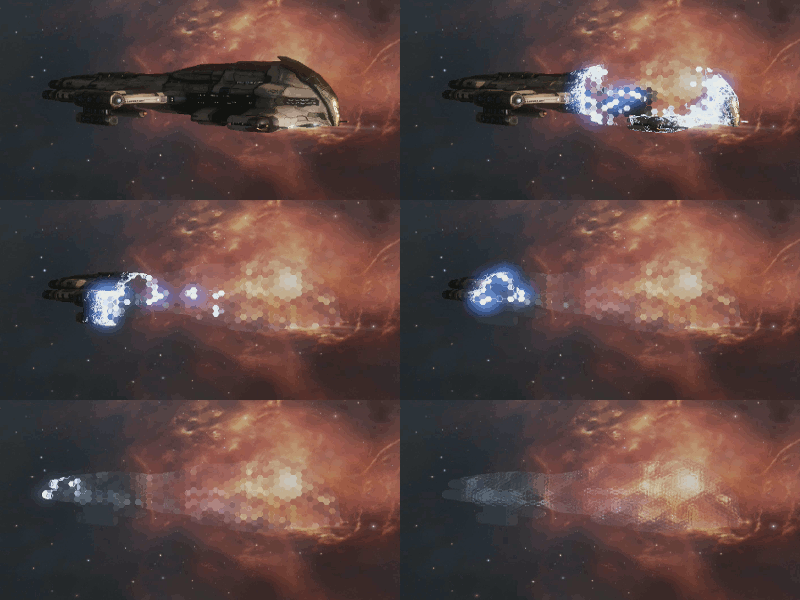
Cloaking Device
Your ship shimmers before disappearing from view.
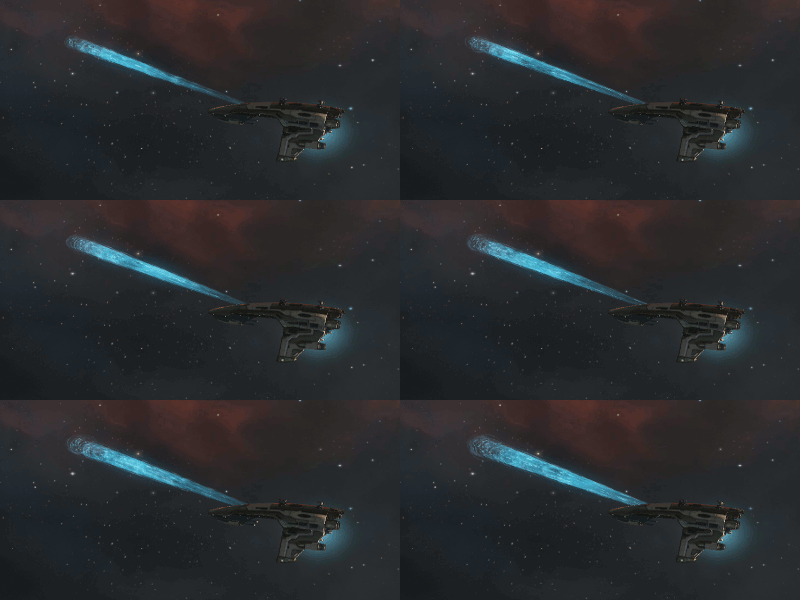
Tractor Beam
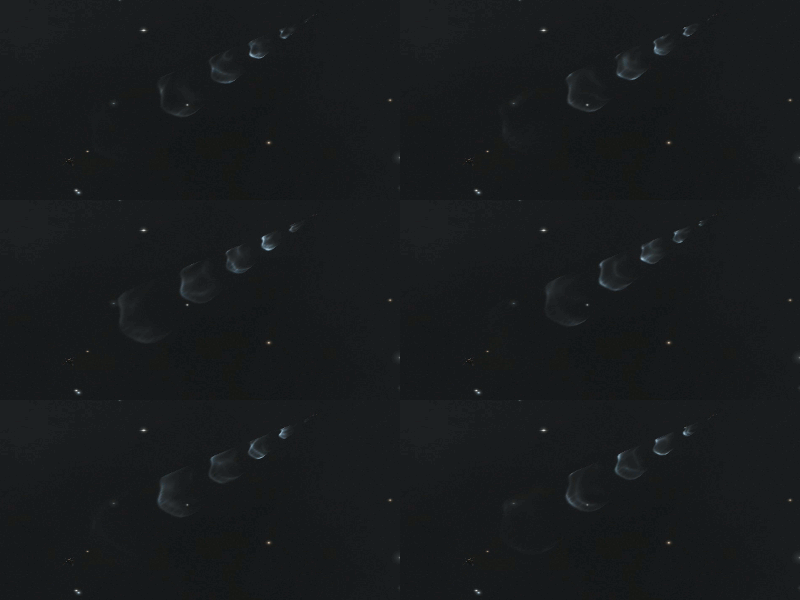
This shows as a fluctuating cone of light blue light towards the target bringing it closer to the ship.
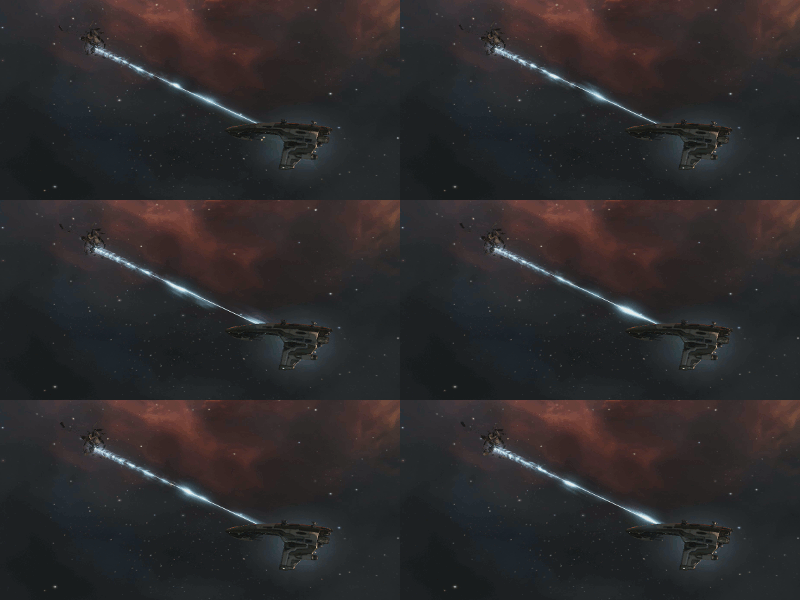
Salvager
A beam of white light hits the target and salvage process begins.
Scanners
Cynosural Beacon
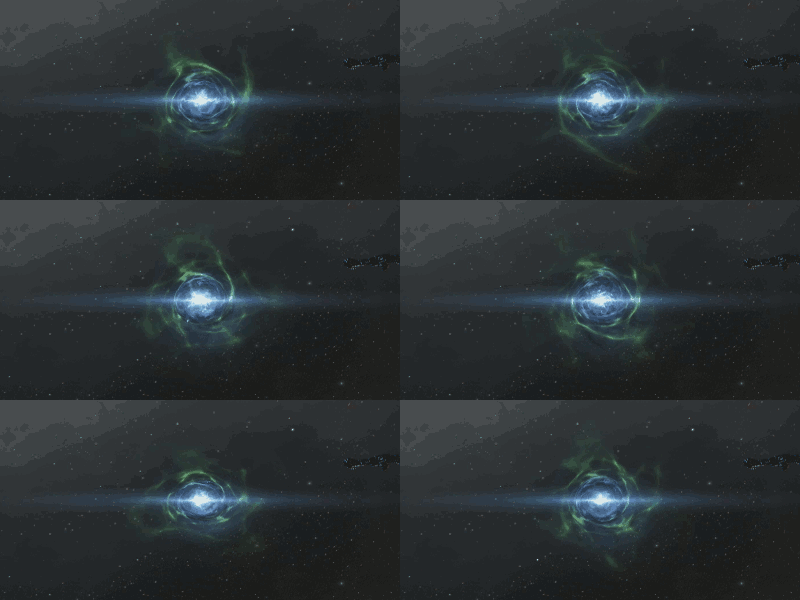 Covert Cynosural Field Generator is active
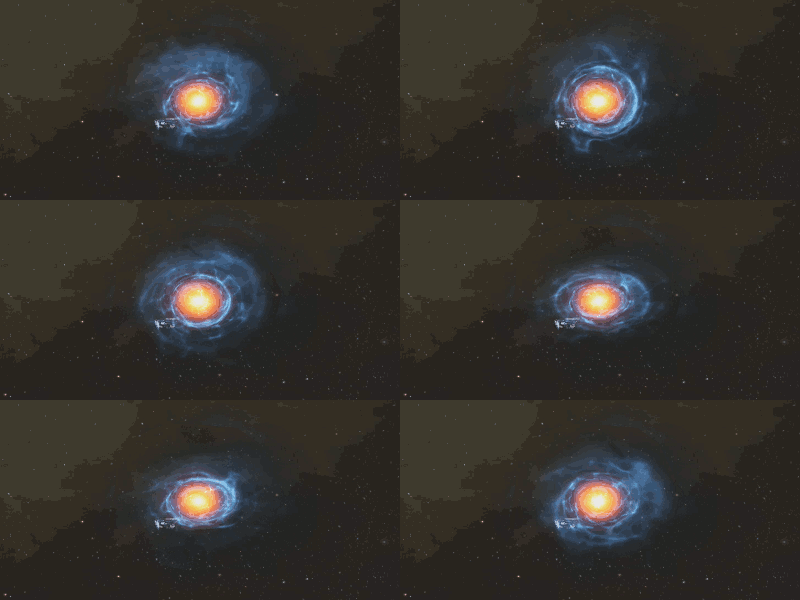 Cynosural Field Generator is active
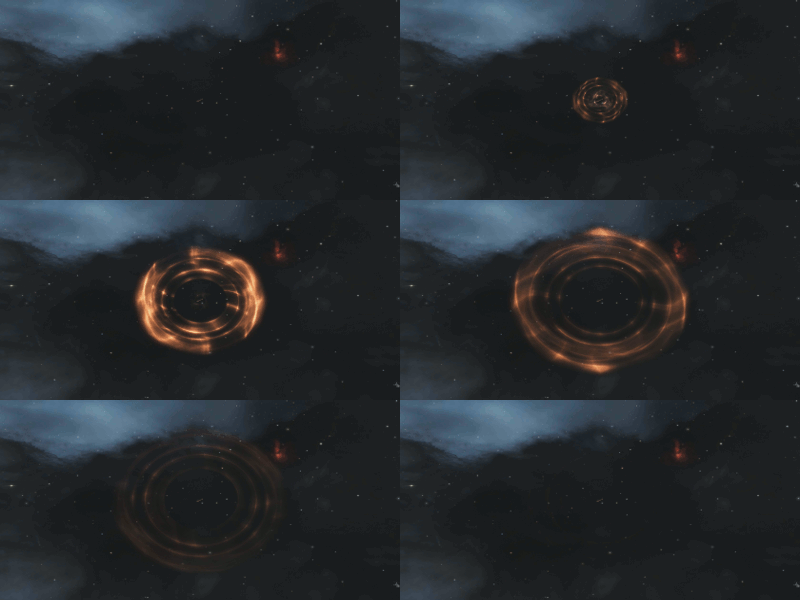
Jump Portal
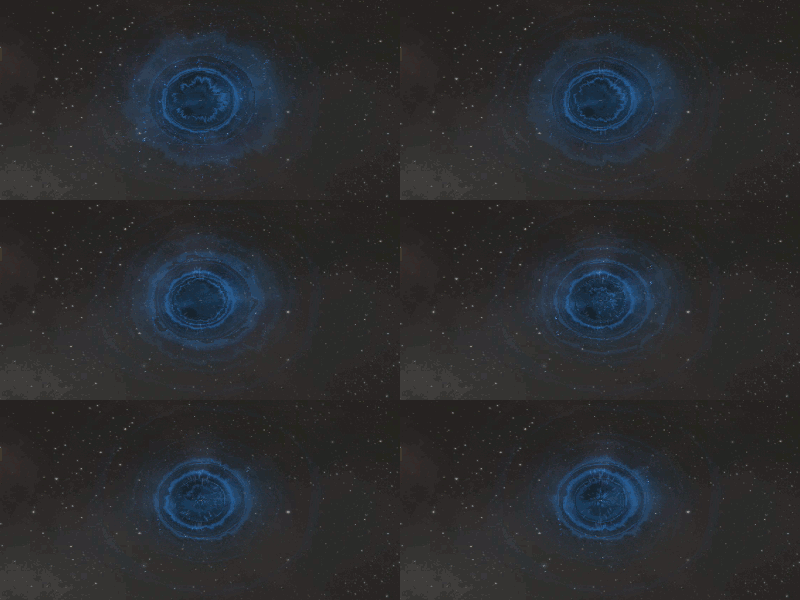
Jump portals can be generated only by Black-Ops and Titan class ships.
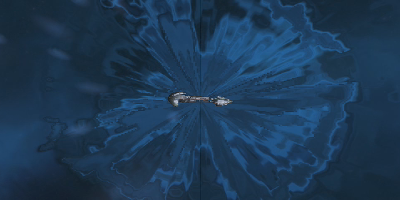 How actually YOU will see when Jump Portal is active (most of the times, since animation is HUGE)
Jump Drive
Black-Ops battleships, Jump Freighters and Capital-sized ships are capable of traveling to remote solar systems without the use of Jump-Gates.
All they need is Cynosural Field they can lock on to.
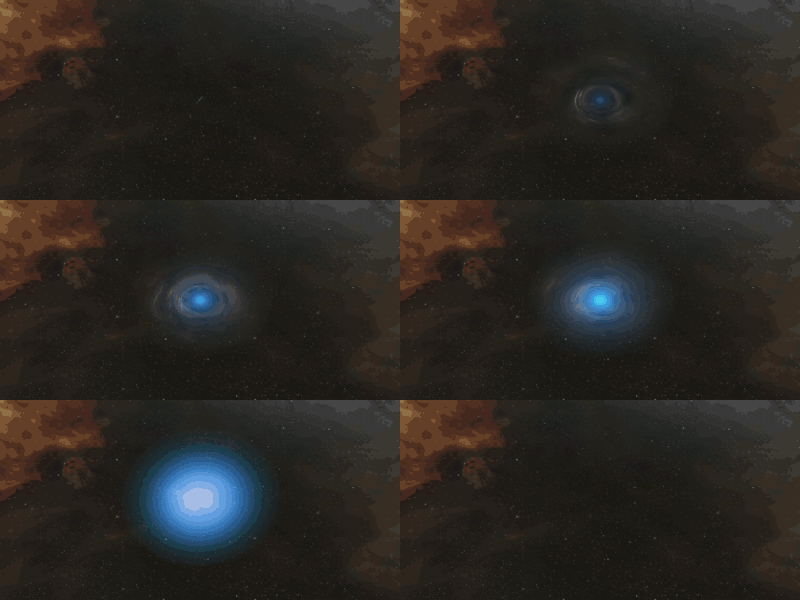 Black-Ops Jump Drive activation
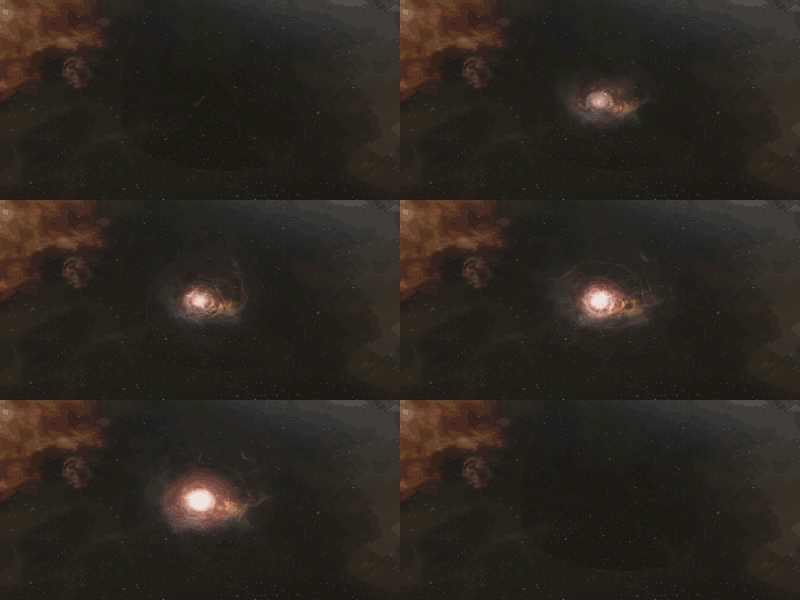 Capital Ship Jump Drive activation
Triage
Apostle entering Triage Mode
Notes
This guide has omitted some information due to its inaccessibility to the author. Please feel free to correct any mistakes, add more information or edit this list of graphical ship effects which were not included and need to be added in the future.
LoTTD:
- Regular Bombs
- Bastion Mode on Marauders and Dreadnoughts
- Entropic Disintegrator
- Vorton Projector
- Mutadaptive Remote Armor Repairer(?)
- Harvesting Modules, such as Gas Scoop/Harvester and Mining Laser

