More actions
| Line 1: | Line 1: | ||
==Locating & Difficulty== | ==Locating & Difficulty== | ||
This is a type of hidden combat site that can be scanned down with scanner probes, and can be found in high-security systems around Aldrat. It's gate allows Battlecruisers or smaller to enter, and a (well equipped) Battlecruiser or HAC is my sugestion for what you should bring. ''Work In Progress, contributions are welcome.'' | This is a type of hidden combat site that can be scanned down with scanner probes, and can be found in high-security systems around Aldrat. It's gate allows Battlecruisers or smaller to enter, and a (well equipped) Battlecruiser or HAC is my sugestion for what you should bring. (Addition: after completing in a Hurricane Dooobles notes that resists over 60% exp/kinetic, robust T2 tank with substantial buffer, exp/kinetic dmg dealing, web, and tracking gear are ESSENTIAL; the incoming damage is very high and the mobs kite.) ''Work In Progress, contributions are welcome.'' | ||
Loot: For the initial site (Two Pockets) - 5M isk in bounties + loot, salvage, possible implant. Asteroids for mining listed in each pocket. | Loot: For the initial site (Two Pockets) - 5M isk in bounties + loot, salvage, possible implant. Asteroids for mining listed in each pocket. (Addition: Dooobles - Commander can drop Domination faction or implants, I received 220mm Domination Autocannon.) | ||
On warp in, you arrive at an acceleration gate. A pop up - - "Previous Explorers have commented that one of the gates requires a passkey. Alternatively, it can be bypassed by convincing the commander to unlock it. The overseer guards his shipyard vigorously. | On warp in, you arrive at an acceleration gate. A pop up - - "Previous Explorers have commented that one of the gates requires a passkey. Alternatively, it can be bypassed by convincing the commander to unlock it. The overseer guards his shipyard vigorously. | ||
===First pocket=== | ===First pocket=== | ||
10 turrets (Angel Tower Sentry), 3 Gistatis Primus (BC), 3 Gistum Liquidators (Cruiser), and 1 Gistatis Smugler Guard (Frigate), no web or scram reported on two separate runs. I usually kill off the BCs and frigs/destys first, then finish the turrets. To unlock the gate, shoot the 'Smuggler's Gate' stucture. It'll spawn 3 BCs and 3 frigs (2 Gistii Impaler, 2 Gistatis Tribuni, and 1 Gistatis Smuggler Commander), kill them. Gate unlocks when Gistatis Smuggler Commander is destroyed. It is possible to blitz this pocket by heading straight for the smuggler gate, shooting it and destroying the Smuggler Commander. | |||
Miners: This pocket contains around 30 Plag, 16 Pyrox, and 45 Veldspar asteroids. There are also 6 cargo containers - each containing a small amount of ammo. | |||
===Second pocket=== | ===Second pocket=== | ||
4 missile turrets, 2 stasis turrets | On warp-in: | ||
4 missile turrets (2 Heavy, 2 Light) SHOOTING THE MISSILE TURRETS TRIGGERS WAVE A | |||
2 stasis turrets SHOOTING THE STASIS TOWERS TRIGGERS WAVE B | |||
3 Gistum Phalanx (Cruisers) | |||
4 Gistior Defiler (Destroyer) | |||
2 Gistior Haunter (Destroyer) | |||
3 Gistatis Primus (Battlecruiser). | |||
Wave A: | |||
2 Gistum Marauder (Cruiser) | |||
6 Gistatis Primus (Battlecruiser) | |||
3 Gistum Liquidator (Cruiser) | |||
4 Arch Gistii Ruffian (Frigate - Target Painting) | |||
Wave B: | |||
2 Gistor Seizer (Destroyer) | |||
2 Gistor Defacer (Destroyer) | |||
2 Arch Gistii Ambusher (Frigate) | |||
3 Gistatis Primus (Battlecruiser) | |||
2 Gistatis Legionnaire (Battlecruiser) | |||
Wave C: (Triggered by shooting Pat's Shipyard) | |||
Pat Wead (Faction Cruiser) | |||
3 Wead Fighter (Frigate) | |||
3 Wead Guardian (Battlecruiser) | |||
Before shooting any tower focus on lowering the number of enemys in the pocket. The incomming damage is quite substantial so something with a decent tank, or warp-outs are necessary. You will be webbed down to ~10% velocity or less (14.0 m/s in a BC), so speed tanking isn't possible. After the area is cleared of most of the enemys, shoot one of the stasis turrets. This pocket can easily become tank-melting if you target the turrets before clearing the initial ships. After all the turrets are gone and everything's dead, shoot 'Pat's Shipyard' for the final spawn and kill him off. There are multiple cargo containers in the pocket (containing a small amount of ammo, one had faction ammo). A large number of Veldspar Asteroids are in this pocket. | |||
Pat Wead dropped a Low-Grade Halo Beta when I ran this. (*Pat Wead drop for Dooobles Sept 22, 2010 - Domination 220mm autocannon, Domination Copper tag, 1000 Angel faction ammo) | |||
On shooting 'Pat's Shipyard', this emoted in local - Pat Wead: Alright, that's it. You barge in here uninvited, mess with my subordinates, and now you have the nerve to attack my shipyard! I see I'll have to take care of our little problem myself ... Pat Wead and his cohorts have exited the shipyard, ready for action. | On shooting 'Pat's Shipyard', this emoted in local - Pat Wead: Alright, that's it. You barge in here uninvited, mess with my subordinates, and now you have the nerve to attack my shipyard! I see I'll have to take care of our little problem myself ... Pat Wead and his cohorts have exited the shipyard, ready for action. | ||
Blitzing this pocket is possible. Shoot Pat's Shipyard and kill Pat. It is very impractical howerver. You will probably want to kill all initial ships as you will be moving at the snails pace of 14 m/s and the damage will be significant. Then kill stasis towers and Wave B. Ignoring missile turrets and Wave A will still allow you to complete the site and qualify for a potential escalation. | |||
==Escalation: The Big Blue== | ==Escalation: The Big Blue== | ||
Revision as of 08:10, 22 September 2010
Locating & Difficulty
This is a type of hidden combat site that can be scanned down with scanner probes, and can be found in high-security systems around Aldrat. It's gate allows Battlecruisers or smaller to enter, and a (well equipped) Battlecruiser or HAC is my sugestion for what you should bring. (Addition: after completing in a Hurricane Dooobles notes that resists over 60% exp/kinetic, robust T2 tank with substantial buffer, exp/kinetic dmg dealing, web, and tracking gear are ESSENTIAL; the incoming damage is very high and the mobs kite.) Work In Progress, contributions are welcome.
Loot: For the initial site (Two Pockets) - 5M isk in bounties + loot, salvage, possible implant. Asteroids for mining listed in each pocket. (Addition: Dooobles - Commander can drop Domination faction or implants, I received 220mm Domination Autocannon.)
On warp in, you arrive at an acceleration gate. A pop up - - "Previous Explorers have commented that one of the gates requires a passkey. Alternatively, it can be bypassed by convincing the commander to unlock it. The overseer guards his shipyard vigorously.
First pocket
10 turrets (Angel Tower Sentry), 3 Gistatis Primus (BC), 3 Gistum Liquidators (Cruiser), and 1 Gistatis Smugler Guard (Frigate), no web or scram reported on two separate runs. I usually kill off the BCs and frigs/destys first, then finish the turrets. To unlock the gate, shoot the 'Smuggler's Gate' stucture. It'll spawn 3 BCs and 3 frigs (2 Gistii Impaler, 2 Gistatis Tribuni, and 1 Gistatis Smuggler Commander), kill them. Gate unlocks when Gistatis Smuggler Commander is destroyed. It is possible to blitz this pocket by heading straight for the smuggler gate, shooting it and destroying the Smuggler Commander.
Miners: This pocket contains around 30 Plag, 16 Pyrox, and 45 Veldspar asteroids. There are also 6 cargo containers - each containing a small amount of ammo.
Second pocket
On warp-in: 4 missile turrets (2 Heavy, 2 Light) SHOOTING THE MISSILE TURRETS TRIGGERS WAVE A 2 stasis turrets SHOOTING THE STASIS TOWERS TRIGGERS WAVE B 3 Gistum Phalanx (Cruisers) 4 Gistior Defiler (Destroyer) 2 Gistior Haunter (Destroyer) 3 Gistatis Primus (Battlecruiser).
Wave A: 2 Gistum Marauder (Cruiser) 6 Gistatis Primus (Battlecruiser) 3 Gistum Liquidator (Cruiser) 4 Arch Gistii Ruffian (Frigate - Target Painting)
Wave B: 2 Gistor Seizer (Destroyer) 2 Gistor Defacer (Destroyer) 2 Arch Gistii Ambusher (Frigate) 3 Gistatis Primus (Battlecruiser) 2 Gistatis Legionnaire (Battlecruiser)
Wave C: (Triggered by shooting Pat's Shipyard) Pat Wead (Faction Cruiser) 3 Wead Fighter (Frigate) 3 Wead Guardian (Battlecruiser)
Before shooting any tower focus on lowering the number of enemys in the pocket. The incomming damage is quite substantial so something with a decent tank, or warp-outs are necessary. You will be webbed down to ~10% velocity or less (14.0 m/s in a BC), so speed tanking isn't possible. After the area is cleared of most of the enemys, shoot one of the stasis turrets. This pocket can easily become tank-melting if you target the turrets before clearing the initial ships. After all the turrets are gone and everything's dead, shoot 'Pat's Shipyard' for the final spawn and kill him off. There are multiple cargo containers in the pocket (containing a small amount of ammo, one had faction ammo). A large number of Veldspar Asteroids are in this pocket.
Pat Wead dropped a Low-Grade Halo Beta when I ran this. (*Pat Wead drop for Dooobles Sept 22, 2010 - Domination 220mm autocannon, Domination Copper tag, 1000 Angel faction ammo)
On shooting 'Pat's Shipyard', this emoted in local - Pat Wead: Alright, that's it. You barge in here uninvited, mess with my subordinates, and now you have the nerve to attack my shipyard! I see I'll have to take care of our little problem myself ... Pat Wead and his cohorts have exited the shipyard, ready for action.
Blitzing this pocket is possible. Shoot Pat's Shipyard and kill Pat. It is very impractical howerver. You will probably want to kill all initial ships as you will be moving at the snails pace of 14 m/s and the damage will be significant. Then kill stasis towers and Wave B. Ignoring missile turrets and Wave A will still allow you to complete the site and qualify for a potential escalation.
Escalation: The Big Blue
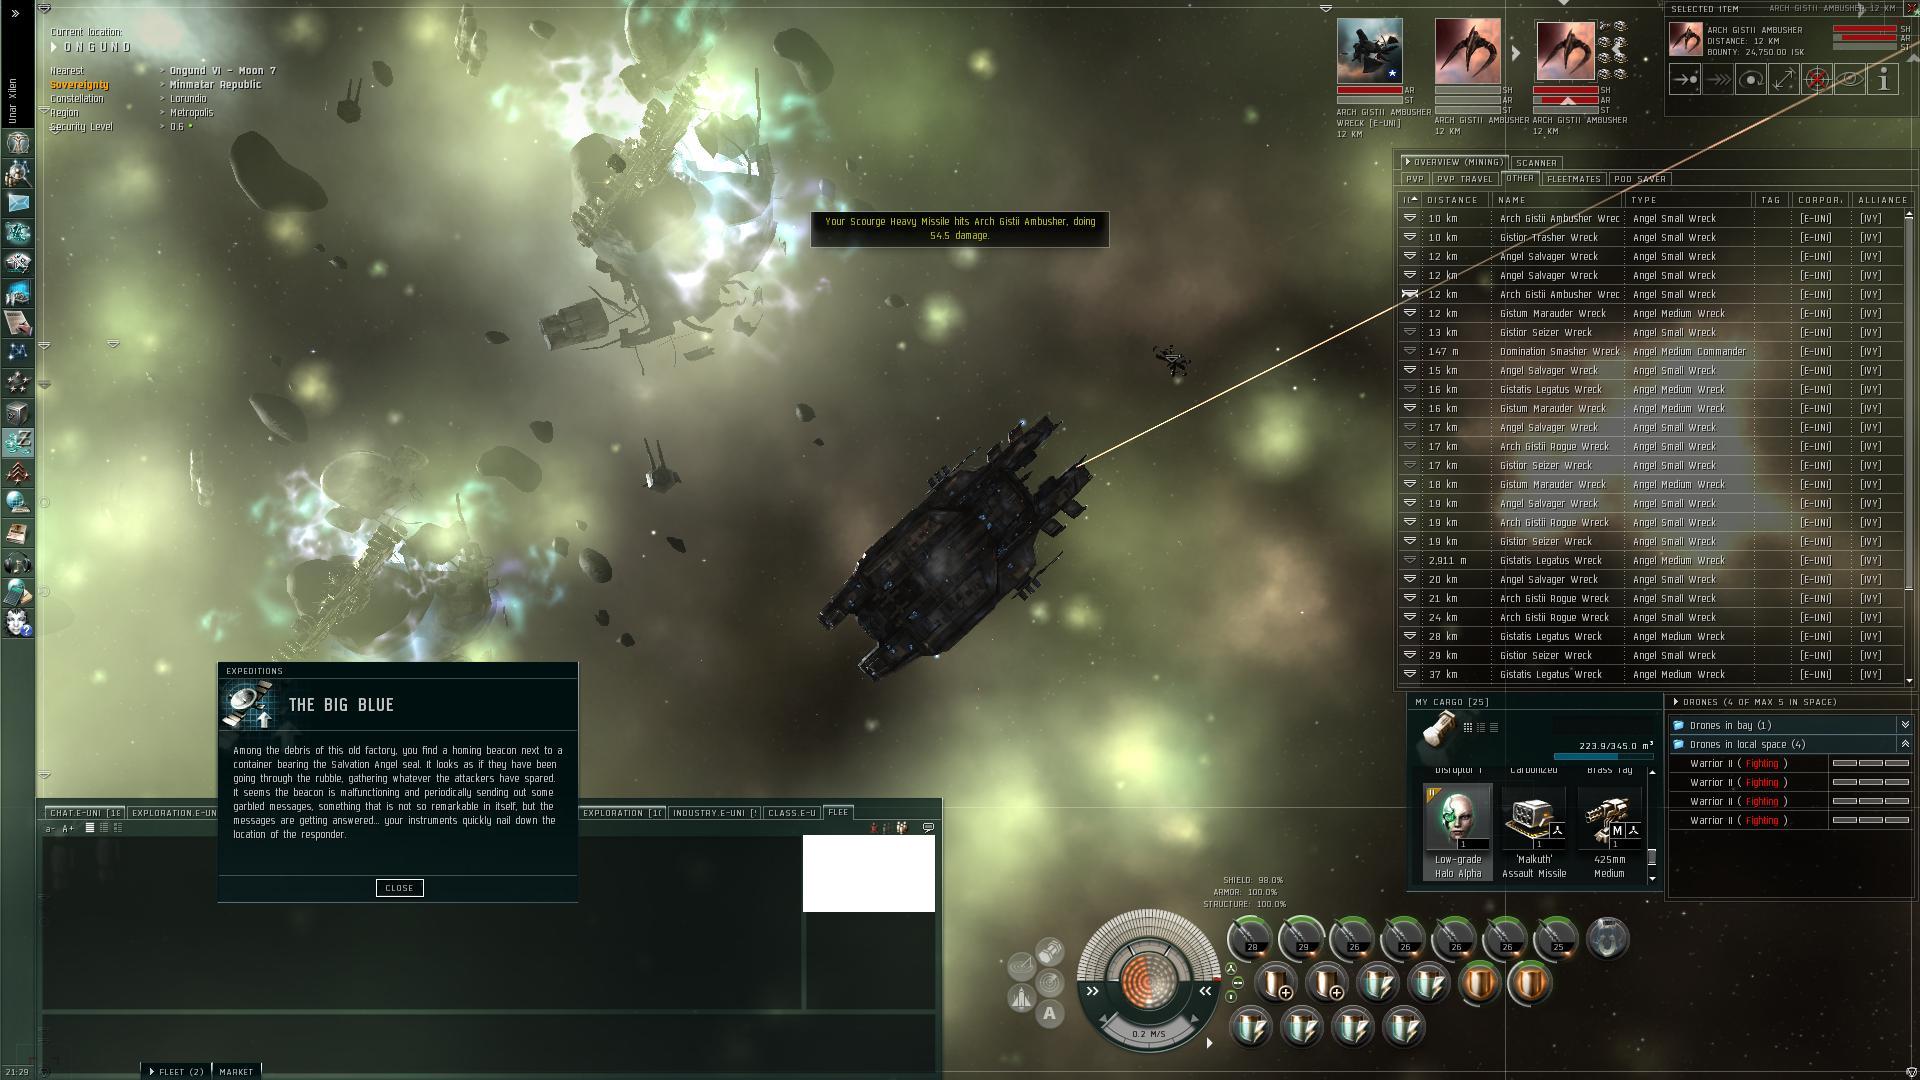
This is a series of escallations. Each has a chance of spawning the next stage or ending. They start with an escallation from Angel Vigil when you destroy Pat Wead. Popup: " Scanning through Pat Wead's logs reveals that this druglord was surprisingly well connected, long lists of buyers and sellers throughout the neighboring regions would make this document a dream read of any law enforcement agent in the galaxy, if only all the vital parts were not in some completely alien code. No matter how much you let your central computer chew on this stuff, you get no feedback on any names or places, execpt perhaps one... this seems to be a hasty entry from almost a year back, not in code. At least the coordinates do reflect a true point in space." The initial escallation from Angel Vigil is thought to be around 10%, but each stage escallating higher is thought to be around 75%. High level angel drops are possible at each stage.
The Big Blue (Stage 1)
Loot: (What it dropped for me)
- Total: 3.0M
- Bounties 1.6M
- Loot 538K
- Salvage 831K
- Plus 1000 Arch Angel Carbonized Lead M
- Plus Implant Low-Grade Halo Alpha
- Loot from Commander drop, Dooobles Sept 22, 2010 - No faction or implant, 1000 Angel ammo
Faction: Angel Cartel
Mission Type: Exploration - Escallation
Space Type: Normal (Confirmed)
Damage Dealt: Explosive/ Kinetic (Need Confirmation)
Web/ Scramble: Arch Gistii Rogues
Extras: Domination Smasher - Target Paints
Recommended Damage Dealing: Explosive/ Kinetic (Confirmed Sept 22, 2010 - Dooobles)
Recommended Ships: Drake
Notes: New spawns can target your drones.
Pocket 1 (Only one pocket)
4 Angel Bunkers (No loot)
17 Ruined Drug Factory (No loot - took a lot to destroy (checked 3))
1 Angel Lookout
1 Angel Elevator
6* Frigate (Angel Salvager - Gistii Nomad)
4* Destroyer (Gistior Seizer)
1* Destroyer (Gistior Trasher)
Spawn 1 (About 30 seconds from warp in)
4* Elite Frigate (Arch Gistii Outlaw) - Web/ Scram
4* Battlecruiser (Gistatis Tribunus) - Trigger
Spawn 2 (Trigger - Killing last Battlecruiser from spawn 1)
4* Elite Frigate (Arch Gistii Ambusher)
3* Cruiser (Gistum Liquidator)
1* Commander (Domination Smasher) - Target Paints
Destroying the Commander will either end the expedition (if unlucky) or give you a popup to the next escallation. Escallation popup : "Among the debris of this old factory, you find a homing beacon next to a container bearing the Salvation Angel seal. It looks as if they have been going through the rubble, gathering whatever the attackers have spared. It seems the beacon is malfunctioning and periodically sending out some garbled messages, something that is not so remarkable in itself, but the messages are getting answered... your instruments quickly nail down the location of the responder."
The Big Blue (Stage 2)
Loot: (What it dropped for me)
- Total: 3.8M
- Bounties 1.3M
- Loot 1.2M (Includes minerals from Drones)
- Salvage 1.3M
- Plus 1000 Arch Angel Carbonized Lead M
- Plus Implant Low-Grade Halo Delta
Faction: Angel Cartel and Drone
Mission Type: Exploration - Escallation
Space Type: Normal? (No warp in gate)
Damage Dealt: Explosive/ Kinetic (Need Confirmation)
Web/ Scramble: None, but others have said the elite frigates web and scram
Extras: None
Recommended Damage Dealing: Explosive/ Kinetic (Need Confirmation)
Recommended Ships: Drake
Notes: New spawns can target your drones. The 3 Drone salvagers may have done different damage types
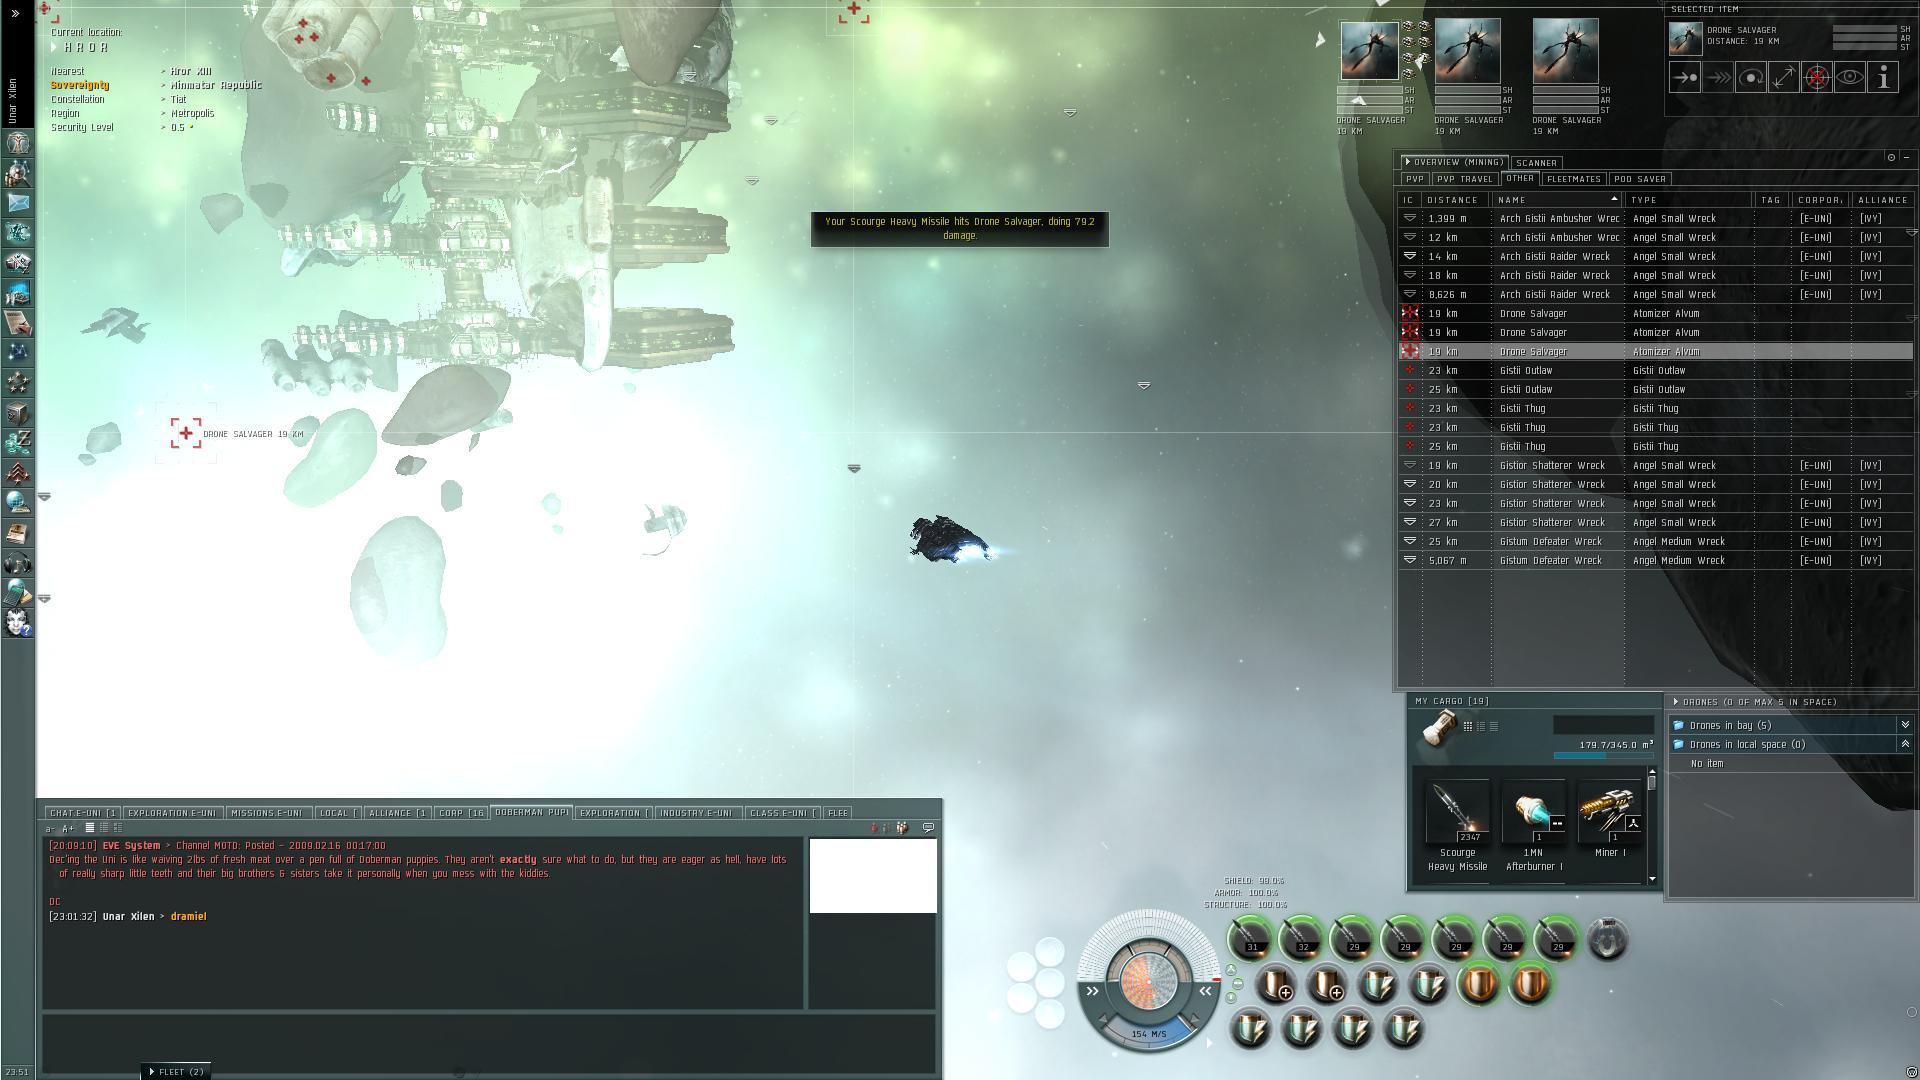
Pocket 1 (Only one pocket)
On arrival you get a message in local: "Broken Message: Th* is *nder invegrrrrrrr rrrrrr rrrrr by DED. It seems someone has disabled the warning beacon."
2 Angel Bunkers (No loot)
50+ Ruined Drug Factory
Spawn 1
3* Elite Frigate (Arch Gistii Raider)
4* Destroyer (Gistior Shatterer)
Spawn 2 (I believe this is triggered by destroying one of the Arch Gistii Raiders)
2* Elite Frigate (Arch Gistii Ambusher)
2* Cruiser (Gistum Defeater)
3* Cruiser (Drone Salvager - Atomizer Alvium)
Spawn 3 (Trigger -Attacking one of the Drone Salvager ? )
2* Frigate (Gistii Outlaw)
3* Frigate (Gistii Thug)
Spawn 4 (Trigger - Spawn 3 Destroyed ? )
3* Elite Frigate (Arch Gistii Raider
2* Battlecruiser (Gistatis Tribunus)
1* Commander (Domination Breaker)
Destroying the Commander will either end the expedition (if unlucky) or give you a popup to the next escallation. Escallation popup : "Another Salvation Angels beacon and this time fully functional probably put here by a surveying ship. It gives directions to another location not far away."
The Big Blue (Stage 3)
Loot: (What it dropped for me)
- Total: 4.7M
- Bounties 2.5M
- Loot 521K
- Salvage 1.7M
- Plus 1000 Arch Angel Proton M
Faction: Angel Cartel
Mission Type: Exploration - Escallation
Space Type: Normal? (No warp in gate)
Damage Dealt: Explosive/ Kinetic (Need Confirmation)
Web/ Scramble: None
Extras: Arch Gistii Nomads target paint, Domination Crusher target paints
Recommended Damage Dealing: Explosive/ Kinetic (Need Confirmation)
Recommended Ships: Drake
Notes: New spawns can target your drones.
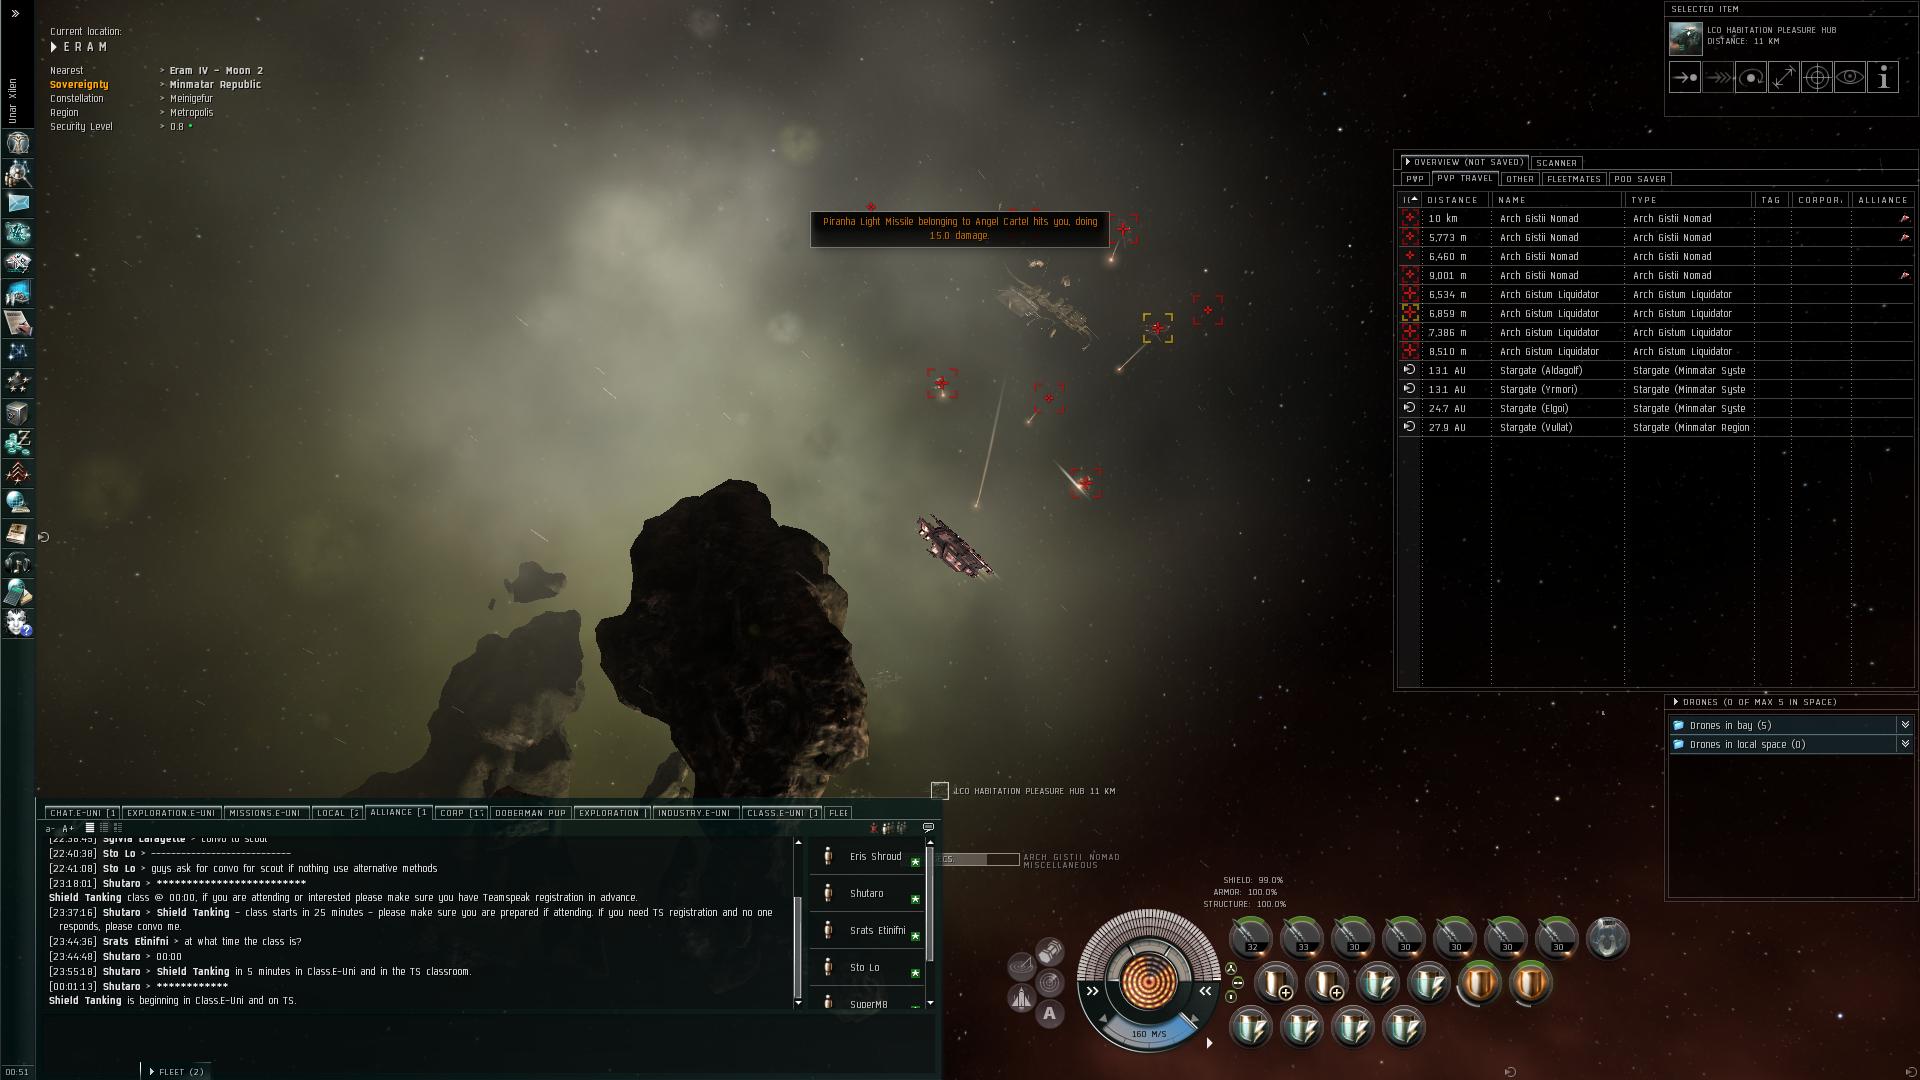
Pocket 1 (Only one pocket)
Spawn 1 (Warps in after about 15 seconds)
4* Elite Frigate (Arch Gistii Nomad) - Target paints
4* Elite Cruiser (Arch Gistum Liquidator) Scourge missiles did low damage to these
Spawn 2 (Trigger - Timed - 30 seconds ?)
3* Battlecruiser (Gistatis Primus)
Spawn 3 (Trigger - Destroying the last Arch Gistum Liquidator ?)
2* Elite Frigate (Arch Gistii Ruffian)
3* Battlecruiser (Gistatis Praefectus)
1* Commander (Domination Crusher)
Destroying the Commander will either end the expedition (if unlucky) or give you a popup to the next escallation. Escallation popup : "Luckily your instruments got a lock on the escaping ships destination."
The Big Blue (Stage 4) LOW-SEC
Loot: (What it dropped for me)
- Total: 2.25M
- Bounties 1.5M
- Loot 750k
- Salvage - I did not salvage since it was low sec
- 18 Blue Pill
Faction: Angel Cartel
Mission Type: Exploration - Escallation
Space Type: Normal? (No warp in gate)
Damage Dealt: Explosive/ Kinetic (Need Confirmation)
Web/ Scramble: Arch Gistii Hijacker
Extras: Arch Gistii Ruffians target paint
Recommended Damage Dealing: Explosive/ Kinetic (Need Confirmation)
Recommended Ships: Drake (PVP fit)
Notes: This takes place in low sec so a ship you are willing to lose and fit for pvp are reccommended. A clean jump clone might be wise. Destroying the web/ scramble ships quickly may be even more important in low sec systems (But that may be the trigger for the next spawn). New spawns can target your drones. Bring a lot of ammo for the Drug factory.
Pocket 1 (Only one pocket)
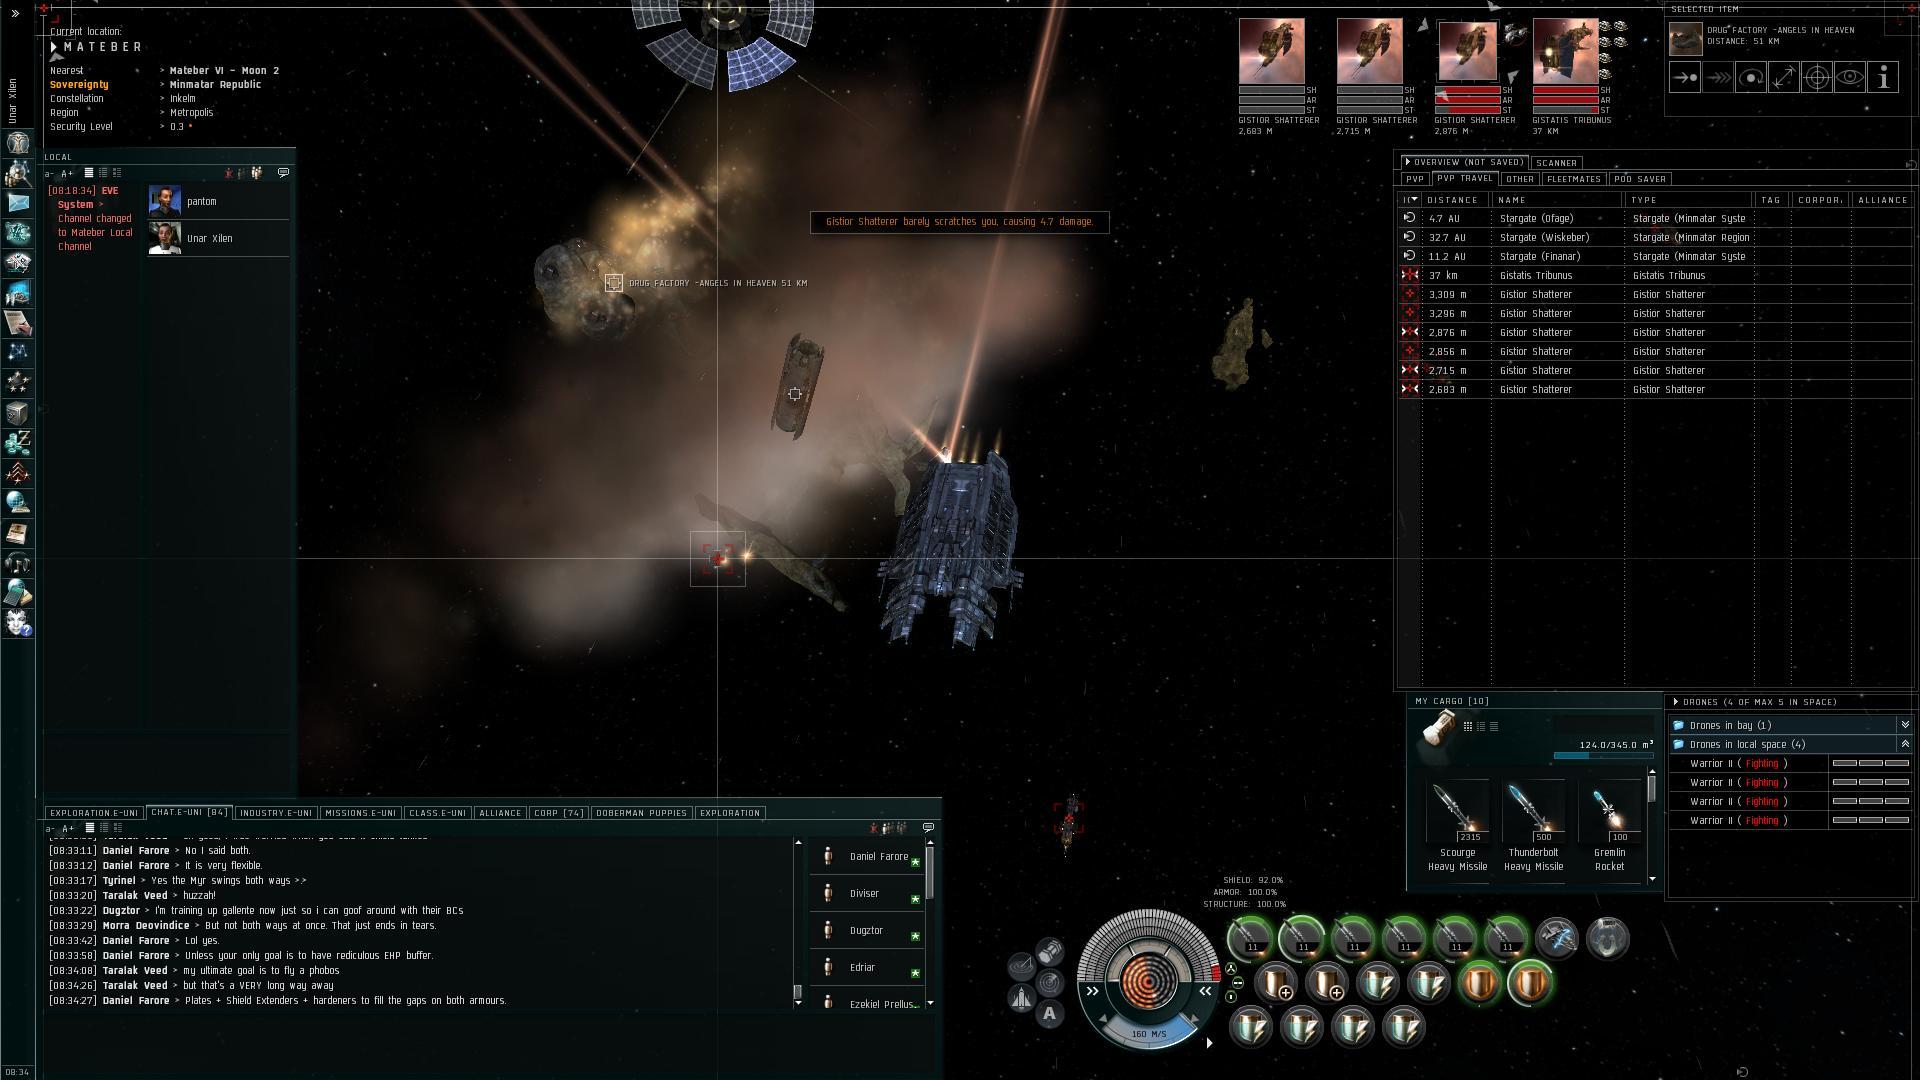
Upon warp in the 'Drug Factory - Angels in Heaven' and a few other structures are all that are visible.
Spawn 1 (Warps in after about 30 seconds)
4* Angel Heavy Missile Battery
4* Elite Frigate (Arch Gistii Hijacker) - Web/ Scramble
4* Elite Frigate (Arch Gistii Ruffian) - Target Paints
3* Destroyer (Gistior Shatterer)
Spawn 2 (I believe this is triggered by doing any damage to any of the Arch Gistii Hijackers)
3* Battlecruiser (Gistatis Tribunus)
Spawn 3 (Trigger - Destroying one of the Gistatis Tribunus - maybe?)
2* Elite Frigate (Arch Gistii Impaler)
4* Battlecruiser (Gistatis Legatus)
3* Destroyer (Gistior Shatterer)
Spawn 4 (Taking the Drug factory 1/2 into structure - this takes a ton of damage to accomplish) (Took me 868 Scourge missiles doing 229 damage (to the structure) each.)
1* Angel Hauler
Spawn 5 (about 10 seconds after the Hauler spawns)
About 6 - 8 ships including one cargo vessel. These warp off quickly. (Before I could target one.)
Final Notes: Destroying the Angel Hauler drops the main loot and completes the expedition (18 Blue Pills for me, but I have heard up to a Dramiel BPC) Finish destroying the lab nets you a few T1 modules, items, and some ammo.
Since I was in low sec, I fitted a cloak - Using the cloak means losing all targets and your deployed drones become inactive and can not be returned to the drone bay (You can only scoop them to the cargohold).
You can leave the area and return if you have not triggered the Angel Hauler or your expedition timer has not expired.
Final completion popup : With all this Blue Pill out of circulation, you probably just sent some thousands of BP munches on a cold turkey. Then again, you could perhaps make nice profit selling it to them yourself. Choices...Choices...


