Overview
All planetary structures are placed directly on a planet via Planet Mode, after a Command Center of the appropriate type for the target planet has been deployed. To deploy a command center you must have it available in the cargo hold of a ship present and undocked in the target system. After you've deployed your Command Center it then allows you to build any other structure, already customized to fit the planet type. You can build structures while docked.
The following table summarizes the available structures, with further details in the next sections. You need a level of the Command Center Upgrades skill to use each Command Center version beyond Basic.
| Building Type | CPU | Power | Storage | Cost (isk) | Volume(m³) |
|---|---|---|---|---|---|
| Basic Command Center | 1675 | 6000 | 500 | 90000 | 50 |
| Limited Command Center | 7057 | 9000 | 500 | 670000 | 100 |
| Standard Command Center | 12136 | 12000 | 500 | 1600000 | 200 |
| Improved Command Center | 17215 | 15000 | 500 | 2800000 | 400 |
| Advanced Command Center | 21315 | 17000 | 500 | 3700000 | 800 |
| Elite Command Center | 25415 | 19000 | 500 | 6400000 | 1600 |
| Extractor | 200 | 800 | 0 | 45000 | |
| Basic Industrial Facility | 200 | 800 | 0 | 75000 | |
| Advanced Industrial Facility | 500 | 700 | 0 | 250000 | |
| High Tech Production Plant | 1100 | 400 | 0 | 525000 | |
| Storage Facility | 500 | 700 | 5000 | 250000 | |
| Launchpad | 3600 | 700 | 10000 | 900000 | |
| Link* | 10 | 5 | 0 | 0 |
- = see the Link section for the additional distance cost associated with links
Command Centers

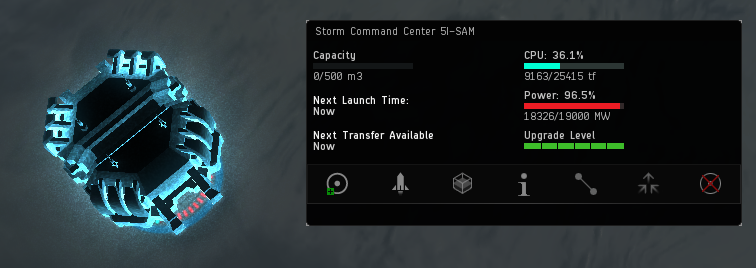
Command Center is the first building to be deployed and provides the CPU and Powergrid for the colony. Oddly enough, there is actually no need to connect the Command Center to any of your other buildings, unless you want to take advantage of the storage or launch abilities, both of which are outmatched by a Launch Pad)
You can use the rocket icon (or double click the structure) to prepare a launch, picking items to include, up to the total capacity of the command center (500m3). The cost of exporting commodities from the Command Center is 50% greater than via a Launchpad, and it cannot support the import of items.
You can review the CPU and Powergrid use of your colony from the Command Center window. You can see the same display under the build menu, but only if you have any construction pending. In that case you'll also be able to see two bars indicating how much additional CPU and Grid will be consumed by the pending changes, plus a numeric display of the same.
If the Command Center is decommissioned, all other buildings in the colony will be lost!
Extractors

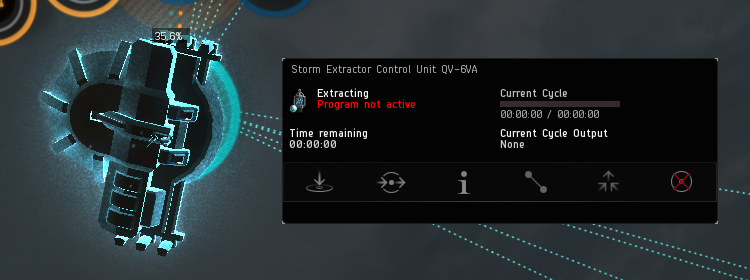
Taps specific deposits in the ground and then extracts raw materials in regular intervals until the deposit runs dry. You must set up a route for the resources to go to either storage or a basic processor.
To get started, either double-click the extractor or click the first button in its window. This will start a surveying process that takes a moment to finish. After it completes you'll be presented with a selection of deposits ranging from small ones that exact very quickly to large ones that produce far less per cycle but much more overall. The cycle times also range from 5 minutes to an hour. You must both select a deposit, click the "Install" button and hit the "Submit" button at some point to commit your edit(s).
You can set up routing before hitting submit (as long as you eventually hit submit), which is handy as you are forwarded to the Products menu on the Extractor icon after clicking "Install" (or you can go to that menu manually at any point). Simply click the output of your extractor in the list, then click "Create Route" and select your target destination. You have to have a link in place, but can build it in the same submit cycle - no need to commit any actions other than building the extractor itself before doing everything else.
Processors
Processors, also known as factories, are used to convert one type of planetary resource or product into a different product. See Planetary Commodities for details on the various combinations you can use. A processor waiting for materials will have its "Progress ring" slowly pulsing.
For the first two tiers Processors are especially useful by decreasing the volume of the involved materials. Turning raw resources (R0) into P1 goods will reduce the total volume to about 25% of the original, and to another 25% of that if worked to P2 goods. After that point the volume reduction becomes less substantial and it becomes harder to find a single planet to run the whole process from start to finish without the export/import of material.
Basic Industry Facility

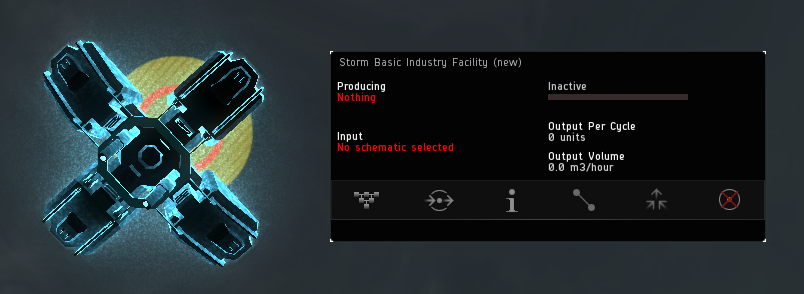
A Basic Processor turns planetary resources into the first level of products. You have to select which "Schematic" to produce via the first icon (simply double clicking the structure works too) where a drop-down will reveal all the P1 products. For instance, the first item "Bacteria" will set the Processor to take Micro Organisms as input and create Bacteria as output.
You must route a planetary resource to the Processor either directly from an Extractor or from storage. After selecting your schematic you'll be forwarded to the Products menu, where just like an Extractor you'll have to select the output, click "Create Route", and pick a target destination for the product.
Be careful about routing your input directly from Extractors, as the Processor only has "storage" capacity for exactly one cycle, with anything else routed to the Processor being lost!
Advanced Industry Facility

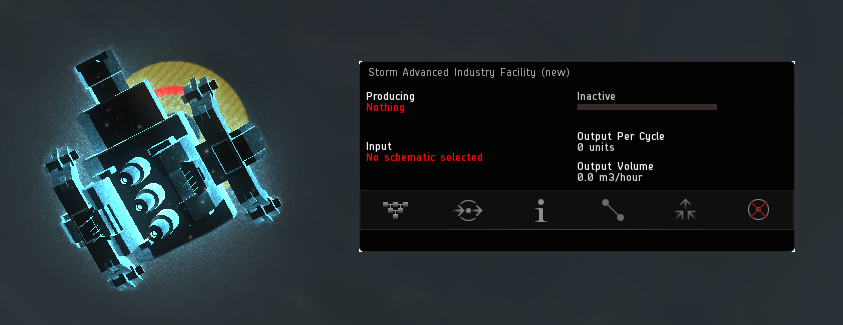
Advanced Processors are just like Basic Processors, with the exception that they produce P2 and P3 goods, which each either two or even three input products.
Again you have to select a schematic and then route input material to the Processor. P2 schematics take exactly two P1 products as input, while P3 schematics take either two or even three P2 products. The icon of the structure will change to show two or three "bars" wrapping the icon based on whatever it is producing, so you cannot tell Advanced and High Tech Processors apart from their icon, although it would be easy to get that impression.
Advanced processors, like their Basic siblings, will store up to exactly one batch of input materials, so be careful about waste!
High Tech Production Plant

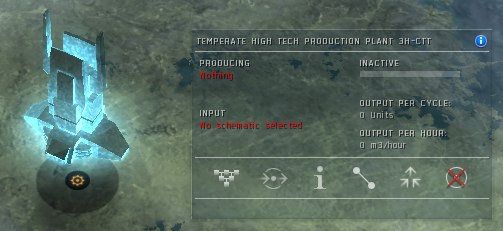
At this point you probably think you've spotted the pattern with Processors and you're just about right! The only real surprise out of this final tier of Processor, which makes tier 4 Products (P4) is that they can only be built on Barren or Temperate planets.
They take three input goods, either three P3 or two P3 and one P1. Each output P4 item is a full 100 m3 in volume.
Storage Facilities

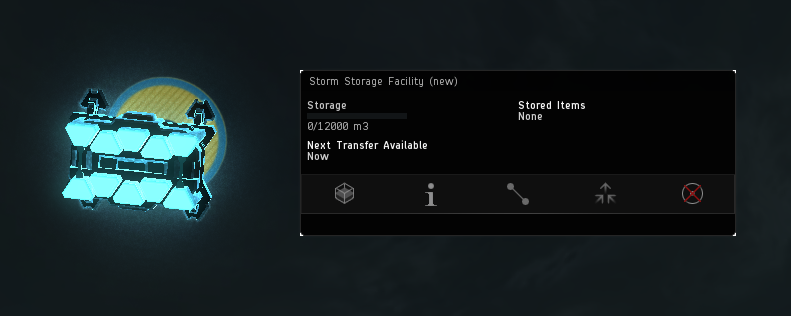
A Storage Facility is a relatively cheap way to make a buffer to hold resources or product prior to being converted or shipped to orbit. However, unless you really have substantial logistical needs on your planet, you might be better off relying on your Command Center or a Launchpad.
Instead of routing straight from your Extractors to Processors (at a potential risk of waste) you can first route to Storage, then route from Storage to Processor. One issue is that you cannot use routes to transfer between different Storage - so if your goal is to export a commodity, you'll want to route it straight to the Command Center or a Launchpad.
If you do end up needing to move something between Storage, you can use the "Expedited Transfer" option under the Storage icon on either Storage Facilities, Launchpads, or Command Centers. Simply move the goods you want to be part of the transfer to the center panel. Note that while this option costs no ISK, it does have a cooldown!
Launchpad

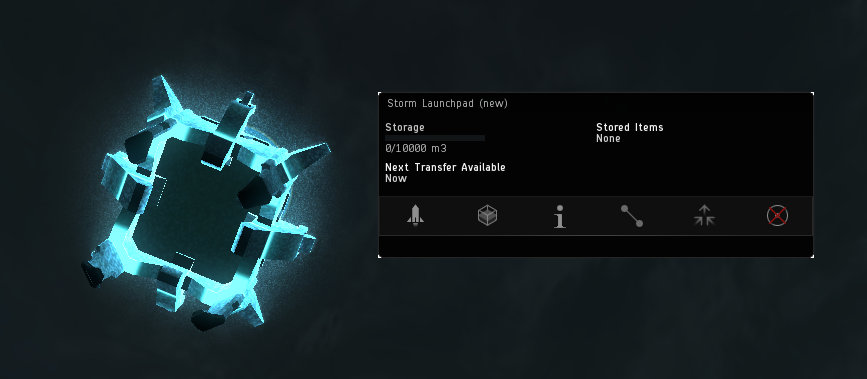
An alternative to using your Command Center as a launching point. Launchpads have more storage than Command Centers (or even Storage Facilities) in which they can hold up to 10,000m3 of resources and products and are less expensive for exporting goods to orbit.
When the first Launchpad is created on a particular planet a corresponding Customs Office is created in orbit. This orbital structure will connect to all Launchpads on the planet, regardless of location and owner. The Customs Office essentially provides a private hangar for all users and is the only way to move material down to the planet surface (import). Since there is only ever this single orbital point, it offers tremendous ambush potential.
Select "Access Customs Office" from anywhere you can select the Customs Office, or simply click the Rocket icon on your Launchpad controls directly (or just double-click the structure). This will work even from great range, but you must be present in orbit to actually transfer items to and from your ship.
See Colony Management for more details on using the Customs Office.
Planetary Links

Links are used to connect planetary buildings together so that you can route goods between them. You can CTRL-click a structure to automatically start placing a link starting from that location, then click a target. You can also build links from the main menu like all other structures, or even do so via the link menu on an existing structure. Like most other actions you have to hit "Submit" before the links are created, but you can start planning out routes before the links are created.
You do not need direct links between all your buildings - you can connect buildings to each other and route materials through them, up to a maximum of 6 hops. Do note that links have a capacity, and the more routes that pass through the same link, the more that capacity will be impacted. If your link design include any "bottleneck" links you may have to upgrade that link to a higher capacity.
You can see current usage of link capacity as a percentage above the link while you are either hovering the mouse above the link or simply hover over a building to see all links involved in routes to / from that building.
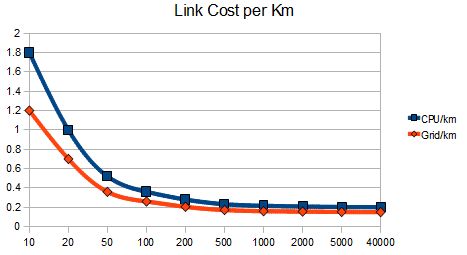
In addition to the base rate to build a link (10 PG+15 CPU), it also costs 0.20 cpu and 0.15 power per kilometer. This means links can be more expensive on larger planets. A handy table is available to estimate your cost.
See Planetary Industry for more details on how to plan and use your Links efficiently.
Link cost by distance
|
|
|---|
Link Upgrade costs
Data on relative costs of upgrading the link capacity (uses a link that is 500km as a base):
| Link Level | Link Capacity (m3) | CPU (tf) | Power (MW) |
|---|---|---|---|
| 0 | 250 | 116 | 86 |
| 1 | 500 | 280 | 183 |
| 2 | 1000 | 481 | 291 |
| 3 | 2000 | 713 | 407 |
| 4 | 4000 | 968 | 528 |
| 5 | 8000 | 1245 | 655 |
| 6 | 16000 | 1542 | 786 |
| 7 | 32000 | 1855 | 921 |
| 8 | 64000 | 2185 | 1059 |
| 9 | 128000 | 2530 | 1200 |
| 10 | 256000 | 2889 | 1344 |
The increase in capacity adds 50% over the previous level.
Notice that as you upgrade the link to higher levels, the CPU usage scales faster than powergrid usage. (2010-04-29 upgrade costs no ISK, unclear whether it will stay that way.) The CPU and PG penalty declines as the level goes higher. Looking at the CPU, level 1 adds a 162% increase in CPU usage over the previous level, but going from level 9 to 10 adds only 14% increase (though level 10 is 28.5 times greater than level 0 link cost). Level 1 power grid adds a 128% increase, from level 9 to 10 adds 12% increase, and level 10 is 17.5 times the level 0 link cost.
However, in a high sec planet, you will be hard-pressed to use up the level 0 capacity of 250 m3 on most links, though depending on your layout, you might have to upgrade the occasional link by 1-2 levels.
