Applying to EVE University
EVE University [E-UNI] is the oldest and largest in-game corporation specifically designed to train new players.
We offer regular classes, fleets, and events, one-on-one mentoring, free ships, and a variety of other services to help new players experience everything EVE has to offer. Our only mission is to help new players learn as much as possible, to prepare them for a successful career in one of EVE's many other player corporations.
You can read more about what we offer here.
If you are looking to join EVE University, please follow the full procedure below. This will get your application entered into our short queue and ensure you have access to our services (Discord, Mumble, Forum). Please complete all steps to avoid delays with your application.
If you are a member already and want to add another character to the corporation, please check out Adding additional characters or Adding Alt Characters that are on different accounts.
An overview of the Application process
1. Download and install Mumble and Discord. These are used for voice communication during fleets, general in-corp communication and our classes.
2. Authorize your character in the EVE University Portal and fill out the application form.
3 Wait for your application to be reviewed by an Intake Officer, this process may take up to 48 hours. While you wait, set up your Overview according to E-UNI standards.
4. After your application has been reviewed, you will get an in-game mail (EVE Mail) with any next steps. Most applicants will be invited to join immediately, in rare cases you may need to attend an interview.
Intake Officers are volunteers who enjoy playing actively just like you do. We cannot guarantee they will be processing applications while online. Please be patient, and if you have any problems, contact the Manager of Intake and Progression.
Applying to join EVE University - Step-by-step Walkthrough
1 - Before applying, download and install Mumble and Discord. If you have any problem setting them up, please contact any of our Intake Officers.
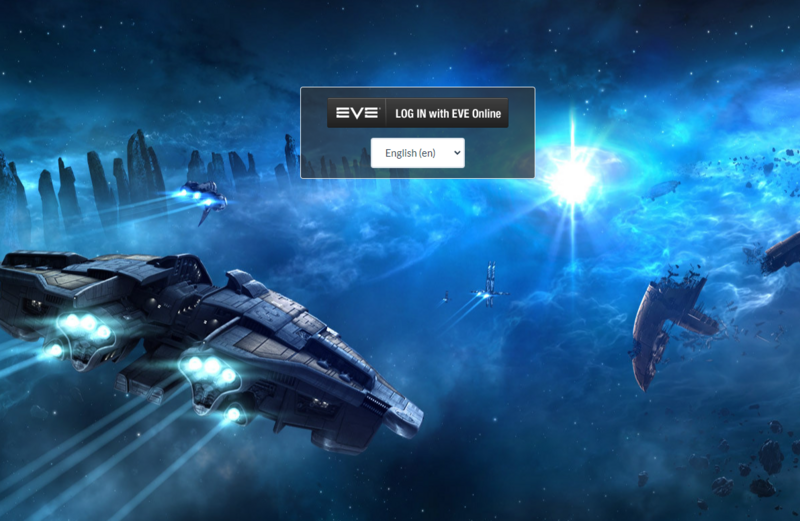
2 - Open the EVE University Portal in your web browser. On the page shown below select 'LOG IN with EVE Online'.
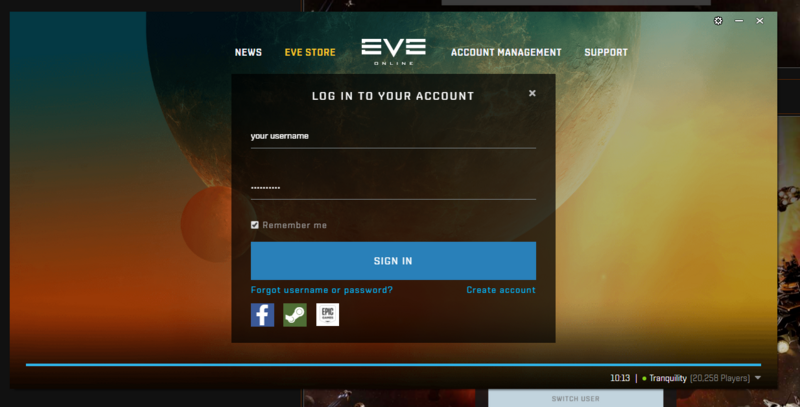
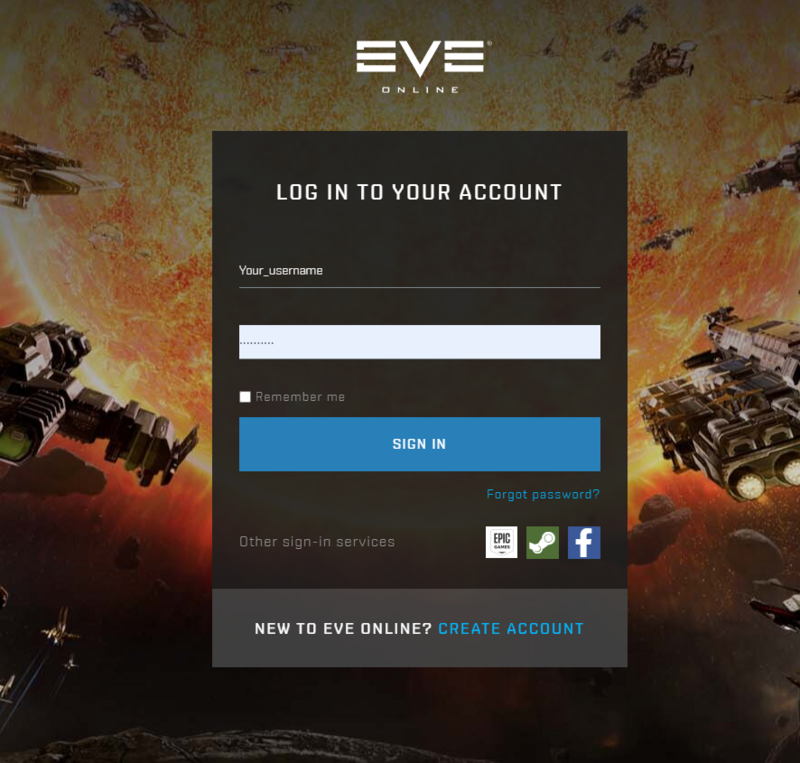
3 - You will then be prompted to log in using your EVE Online account details.
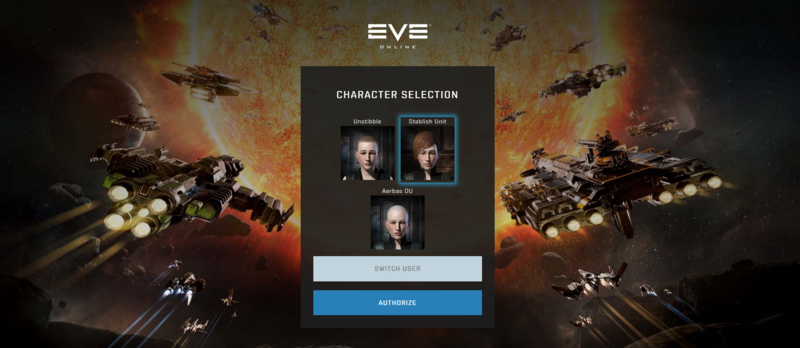
4 - Check the character highlighted is the character you wish to apply to EVE University on and select Authorize.
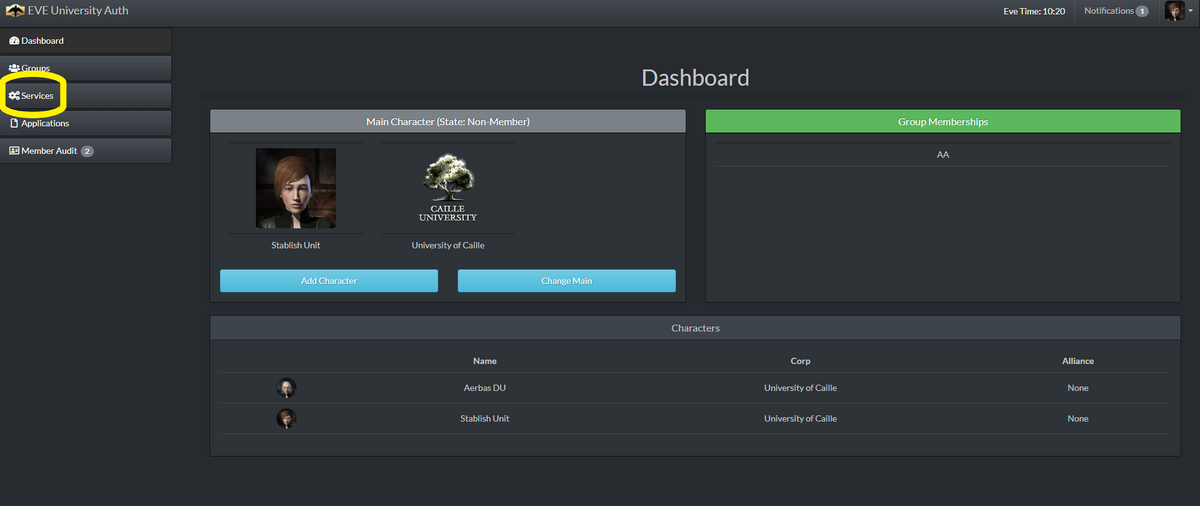
5 - You will now see the Dashboard. Select 'Services' on the left.
6 - There is no 6.
7 - You will see a list of services available for you to action.
All services are mandatory as they are needed for in-corp communication. You will have guest access until you are accepted as a member of EVE University.
Each service actions slightly differently:
~ Hit the check mark next to Discord. This will automatically open Discord to add you to our Discord server. Your nickname will automatically be set to your character name.
~ Hit the check mark next to phpBB3Forum. This will automatically create an account for you on our forum. Your Credentials will then be displayed, see below:
Save that password! Open EVE University Forum and log in using those credentials.
Clicking continue on the Credentials page will take you back to Services.
You can change your password using the 'pencil' icon.
~ Hit the check mark next to Mumble. This will create an account for you and you will get a Mumble Credentials po-up.
Save that password!
Hitting continue on your Credentials page will take you back to Services, where you will see your Mumble services links.
You can change your password using the pencil icon later, and log on to Mumble using the arrow.
Click the arrow to log into mumble using your credentials.
Once logged in, to save your details and be able to log onto Mumble directly, you just need to go to Server --> Connect --> Add New --> Fill --> Save.
When you join EVE University, your member permissions will update automatically; this should take no longer than 24 hours.
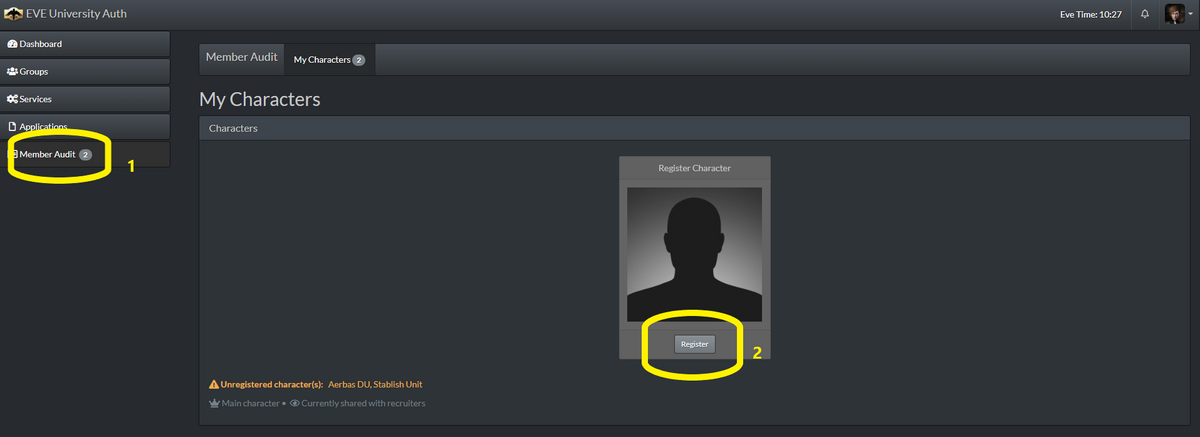
8 - Click the Member Audit button on the left hand bar. Hit 'Register'!
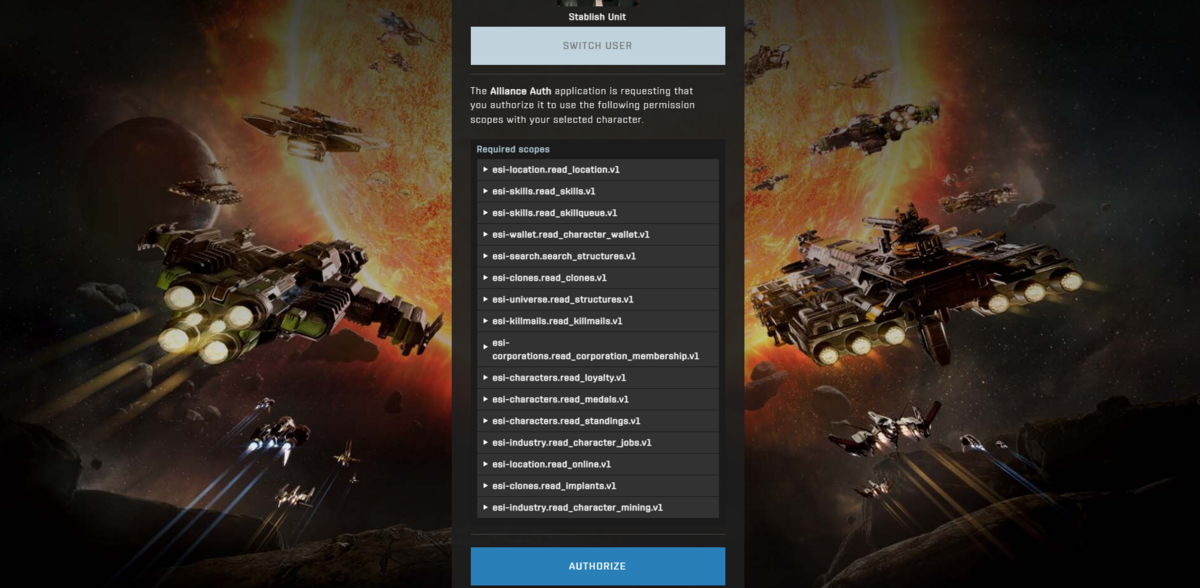
9 - You will see a list of 'scopes'.
These are permissions we ask you to make visible to our recruiters.
Please hit 'Authorize'.
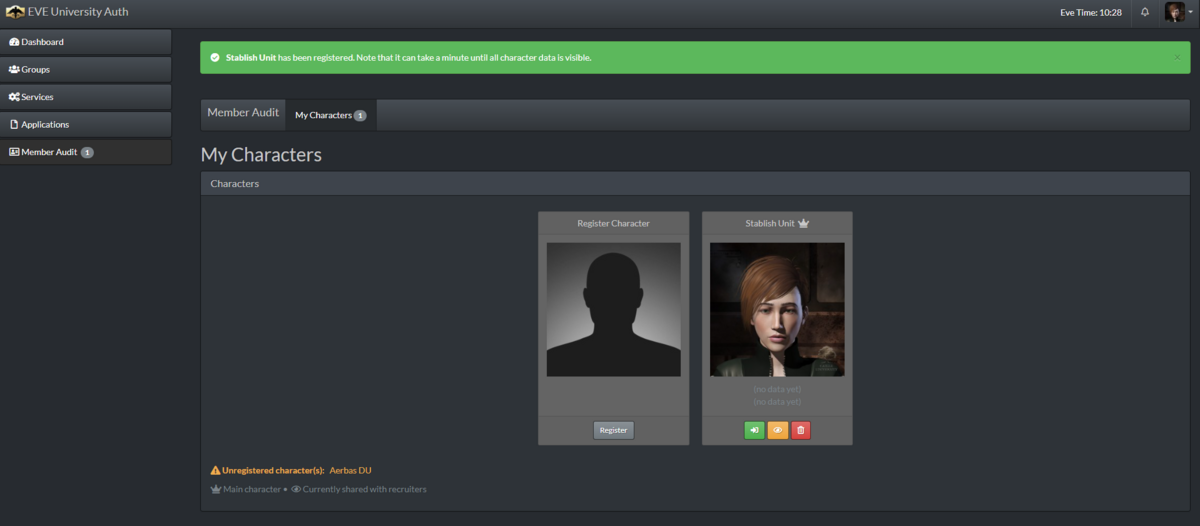
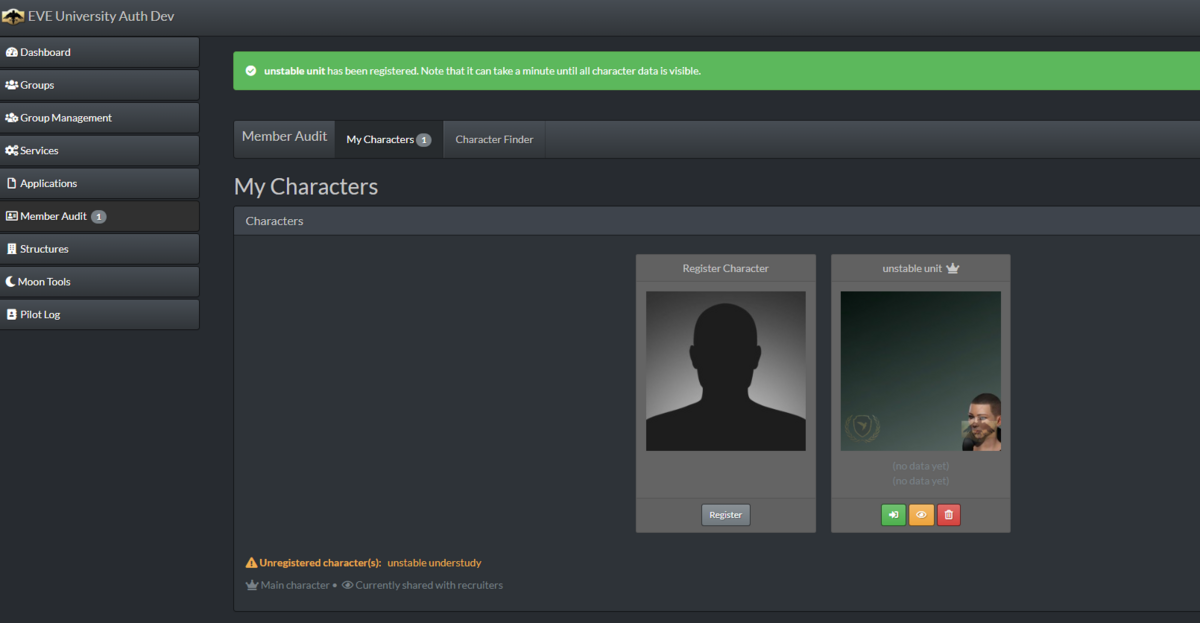
10 - You will see that your character becomes visible on the Member Audit page.
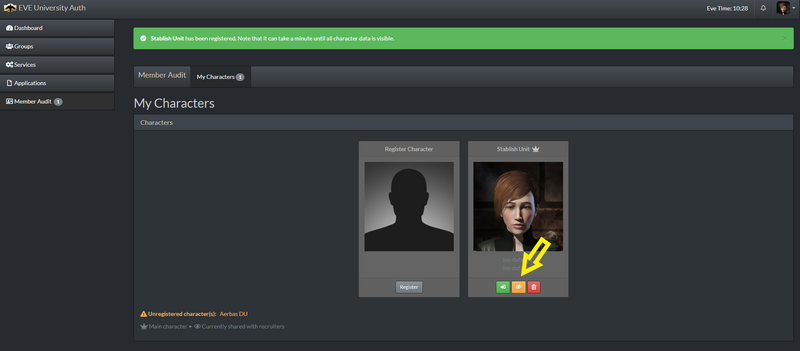
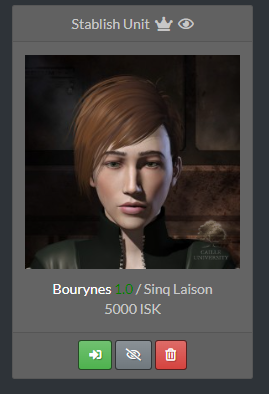
To make this character visible to recruiters, you need to hit the yellow 'eye' icon beneath your picture.
It will ask if you are sure you want to share this character (yes, you're sure!)
On a shared character, the little yellow eye will become crossed out and grey:
11 - Next you will need to go to 'Applications' in the left hand menu.
Click on the green 'Create Applications' box.
12 - You will be prompted to choose a Corp to apply to. Choose EVE University.
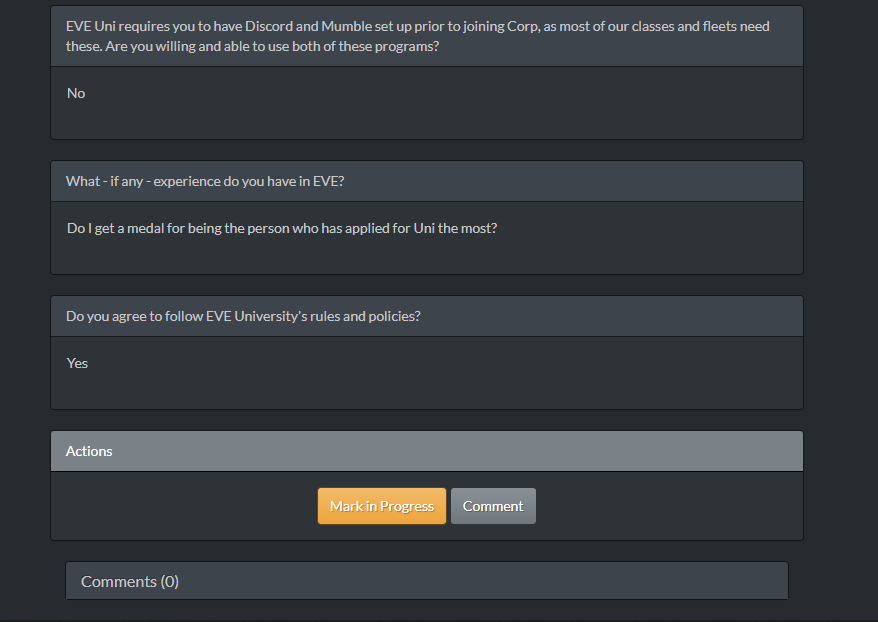
That will take you to a short application that you will need to complete.
13 - Once you have completed your application, you can go back to the dashboard and check if it has been received. If you want to cancel your application, you can do so here by selecting the red X.
You will receive an in-game mail from one of the Intake & Progression Officers as soon as they have reviewed your Application; this is usually within a day or two. Please be patient, however, as all of our staff are volunteers giving up their playtime!
Adding Additional Characters
The number of additional characters is limited to three per individual.
Anything over this would be considered on a case by case basis.
To reduce Intake Officer workload, please check with the Intake and Progression Manager. if you intend to have more than three characters within EVE University.
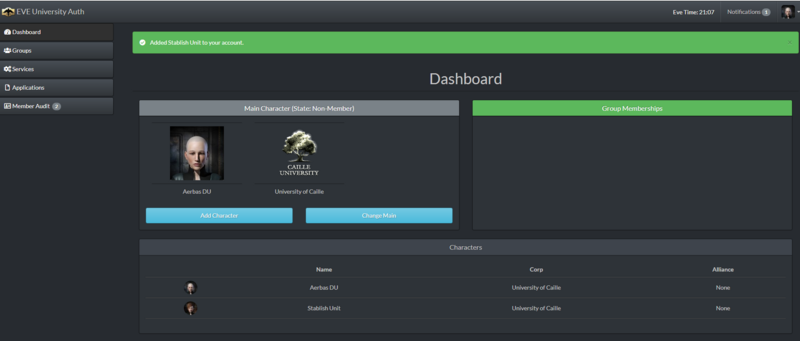
To add your alt, you will need to navigate back to your Dashboard, where you should see 'Add Character' beneath your portrait.
Log in again, selecting the character you want to bring into EVE University. Accept the Auth scopes.
You will then be able to see this character in your Dashboard
To make this character visible to recruiters, you need to hit the yellow 'eye' icon beneath your picture.
It will ask if you are sure you want to share this character (yes, you're sure!)
Alts DO NOT need to set up Services (as your main already has them).
Navigate to Applications on the left side of your screen.
Select Create Application --> EVE University
In the drop down menu, select your alt.
For the question, 'What - if any - experience do you have in EVE', please put your main character's name.
Adding Alt Characters that are on different accounts
At the character select screen you need to click 'Switch User'.
Select the alt you wish to bring in.
At the character select screen you will want to click the alt you wish to bring in.
To add your alt, you will need to navigate back to your Dashboard, where you should see 'Add Character' beneath your portrait.
Log in again, selecting the character you want to bring into EVE University. Authorize the scopes presented.
You will then be able to see this character in your Dashboard
To make this character visible to recruiters, you need to hit the yellow 'eye' icon beneath your picture.
It will ask if you are sure you want to share this character (yes, you're sure!)
Navigate to Applications on the left side of your screen.
Select Create Application --> EVE University
In the drop down menu, select your alt.
For the question, 'What - if any - experience do you have in EVE', please put your main character's name.
Joining when EVE University is at war
As a large group with lots of inexperienced players, EVE University can seem an attractive target. Some corporations declare war on EVE University in order to try to get easy kills on their killboard.
Sometimes we also have mutual wars for training our members and/or for fun. War and PVP combat is an important part of EVE Online which we want our members to be prepared for and therefore it is a good training scenario.
EVE University rarely declares war on other corporations, but will react swiftly when aggressed. We strive to end 'unfriendly' wars quickly, but it is impossible for us to avoid being eligible for war entirely.
How can you tell if EVE University is at war?
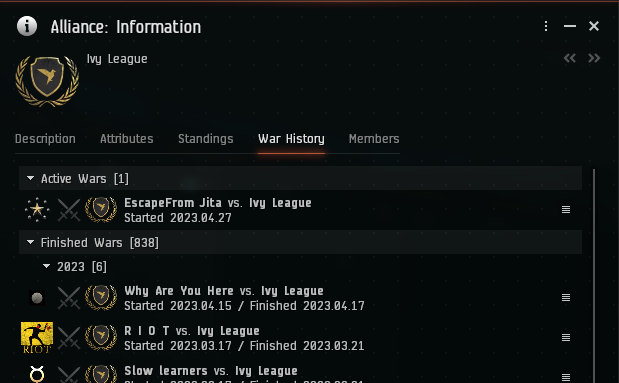
To check whether EVE University is currently at war, search for Ivy League (the Alliance EVE University belongs to) under the 'People and Places' tab in game.
Then right click on Ivy League and select “Show info”.
This will bring up a profile of information on Ivy League as below. Select the “War history” tab and look at the top of the list for any active or pending wars.
Eve University is rarely at war but it can still happen.
In the unlikely event that we are in an active war when you join, check out how to Avoid Losses to War Targets and Wartime Operations in EVE University before accepting the Corporation Invitation.
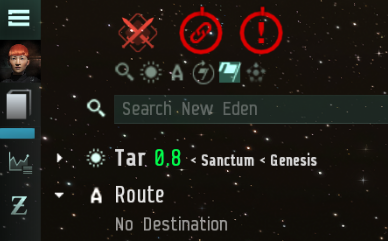
When we are at war, you will see a crossed swords icon on the top left of your screen.
Once you are a member of EVE University, what next?
Our Welcome to EVE University page provides basic information to get you started. It also contains information about the services and programs available to you.
If you have any issues with the application process, our Intake Officers are here to help! Feel free to ask for an Intake Officer in our public channel in-game or on Discord.
If you have any complaints, please contact the Manager of Intake and Progression.
| ||||||||||||||||||||||||||||||||||||||||||||||||||||||||||||||||||||

