
High Amount of High Slots
HIGHLIGHTS
RELATED UNI-WIKI REFERENCES
|
Unbroken. Unbound.
SHIP BONUSES
Minmatar Battleship bonuses (per skill level):
Ship Attributes
|
Summary
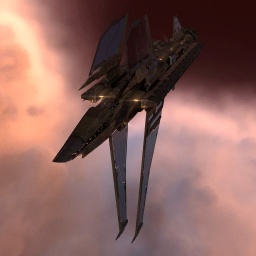
The Maelstrom is the Minmatar T1 battleship with a tank bonus as such it has a bonus to shield boosters; further it’s bonused for projectile turrets.
Skills
Further information about additional or recommended skills to pilot Maelstrom for a specific or its common role(s) can be written here.
Tactics
The Maelstrom is the final word in artillery sniping, invariably fit with a full rack of 1400mm guns and a shield tank. Before the advent of micro jump technology, the prevailing battleship doctrine was the "alpha fleet". This technique relied on massed Maelstroms to delete enemy battleships in a single overwhelming volley, allowing no time for logistics ships to intervene.
Notes
You can add notes here.
Patch History
| A long, long time ago... |
|---|
|
2025-09-09 Version 23.01 Release 2025-09-09.1 Legion Major Update (Patch notes)
Viridian expansion - 2023-06-13 Patch Notes
Version 20.09 Version 2022-10-11.1 Patch notes
20.03 Release - Build: 2013787 - 2022-03-08 - "Road to Fanfest" Update (Patch Notes) Brand new Role bonuses have been added to all battleships (excluding the Praxis).
October 2019 Release - 2019-10-15.1 Every Cruiser, Battlecruiser and Battleship now warps faster than before.
Rubicon 1.3.1 Released on Wednesday, March 13th, 2014
Odyssey 1.0 Released on Tuesday, June 4th, 2013
Inferno 1.1 Deployed on Monday, June 25, 2012.
|


